I. LOVE. THESE. OVERALLS.
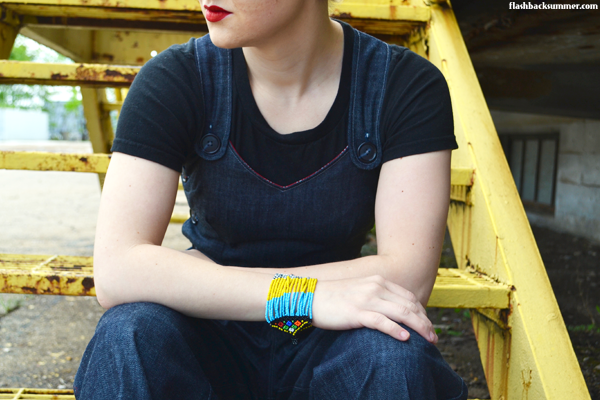
You are looking at my uniform for this summer: t-shirt, overalls, flats. It'll be happening all the time.
WHY have I not made up this Wearing History Homefront Overalls pattern before now?! I have no idea. I've ready many fantastic reviews from other sewists, but I haven't gotten around to making them until now. I went with the overalls version first because... well, overalls, obviously. I haven't had a pair since I was a kid, and I think that's wrong.
When I told my sister I was making overalls, she sneered.
"Are they acid wash, or, like... 90s overalls?"

No, they are classy, awesome, very vintage overalls! They are fitted at the top and feature a sweetheart neckline. The waist has a thick, comfy waistband, and the legs are roomy and have a longer rise for ease of movement. They're fantastically 30s/40s and perfect for the non-stretch denim I had in my stash.

As far as the sizing, I went with the suggested pattern sizes that coordinate with my body measurements: 32-24-35 and petite. This coordinated with the e-pattern for size pack A. I used size 14 on the top and bottom and graded them both to a size 12 (24") at the waist. This worked really well on the bottom half, and the legs and hip area are comfortably baggy. However, there is a bit of gaping at the back of the top between the straps. The dart placement is great, though, so I think next time I will just size down to the 12 (30" bust) and make it all a bit tighter. This should get rid of the gaping at the back and create a snugger fit on the sides. I may even go for styling a 1930s "farmerette" look on the next version!

I also took the time to topstitch a lot of the seams and serge most of the seam allowances. It just adds a RTW, quality feel to it that I like and also reinforces the seams a bit to make them durable. ('Cuz I plan on wearing it a LOT, like I said.)
I added back pockets as well. They don't come with the pattern, but they're really easy to draft yourself. The patch pockets on the front are awesome, but when it comes to bending and moving around, it's better to have back pockets to put stuff in. I did just realize, though, in looking at pictures of other versions people have made, that I probably shouldn't have put a buttonhole through the front pocket, just under it... Oh well. Live and learn. Button plackets are kind of my nemesis.

The only other major change I made was to line the bodice instead of facing it at the edges. I went for a fun pop of color and used this silver star and red cotton from my stash. I thought if I did go for a farmerette look and wore the overalls as a jumpsuit that cotton would be a bit more comfortable on my skin than just denim. It changed the construction process a bit, mostly when it came to the button placket. I just had to be careful to think through the steps and make sure to sew each piece at the right time... sewing origami! I sewed it to the waistband seam allowance with a messy but effective blanket stitch.

I am VERY happy with how these turned out. Even with the top being a bit big, they are amazingly comfortable. The torso is the right length for me, and the pant length gives me enough room to cuff the legs a couple times and still reach the ground. For the summer, though, I prefer to wear them Huck Finn style and roll them up to a cropped length!

There is also a surprise hat pattern that comes with the overalls! However, when I attempted it I think I rushed through and didn't do things right. Basically... it was an epic fail and I'm not going to show it to you. I'll try again and let you know how it goes.
Here is a summary of the pattern details and things I changed:
Fabric: Denim, 100% cotton bodice lining
Pattern: Wearing History Homefront Overalls
Year: early 1940s
Notions: 7 buttons
How historically accurate is it? Very accurate! Wearing History patterns are very close to originals, and denim and buttons are appropriate things to use for 1940s patterns, although they are not officially vintage.
Any tricky parts to the pattern? The button placket. I just struggle with these in general.
Did you change anything? I added back pockets and lined the bodice instead of using facings
Time to complete: 3 days
First worn: April 20, 2016
Total cost: Ummm.... I think about $15 for the denim, $9 for topstitching and normal thread, and $6 for buttons, and I won the pattern in a WH photo contest! So about $30.
Notes: My measurements are 32-24-35 and I'm petite. Next time I will use the 30" bust size on the top and the 35" hip size on the bottoms, both graded to 24" at the waist. The length of the overalls were fine for my torso and legs and gave me enough fabric to cuff the legs twice. Taller people will probably want to adjust this.

Outfit details:
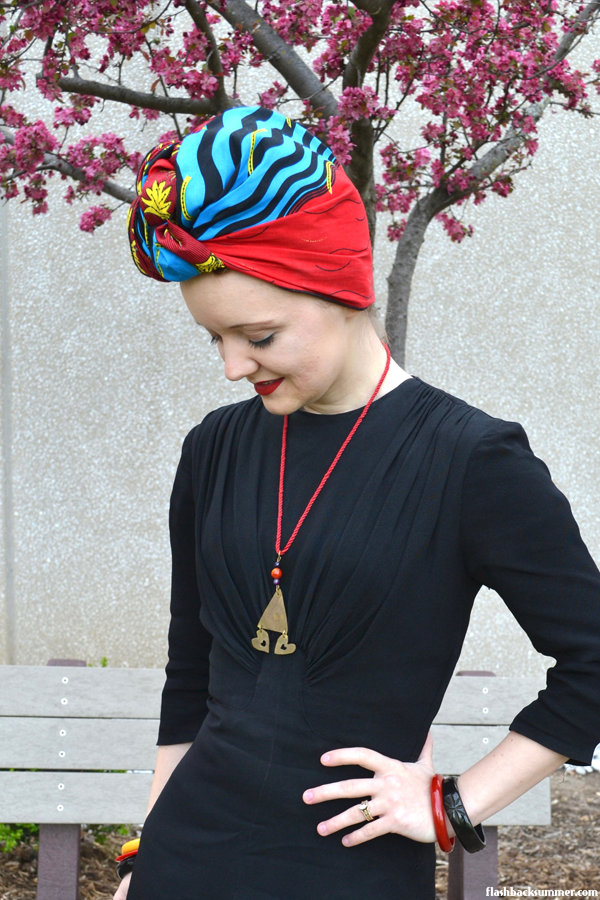
headwrap: The Wrap Life, "Yendi" wrap
overalls: handmade by me
lipstick: Kat Von D "Outlaw"
shoes: OLL
t-shirt: gifted
bracelet: from Kenya
bracelet: from Kenya
Other sewn-up versions of this pattern:
The Girl with the Star-Spangled Heart (overalls)
Playsuit version by Anneliese (post in German)
Va-Voom Vintage (overalls)
Pinhouse Playmate (overalls)


