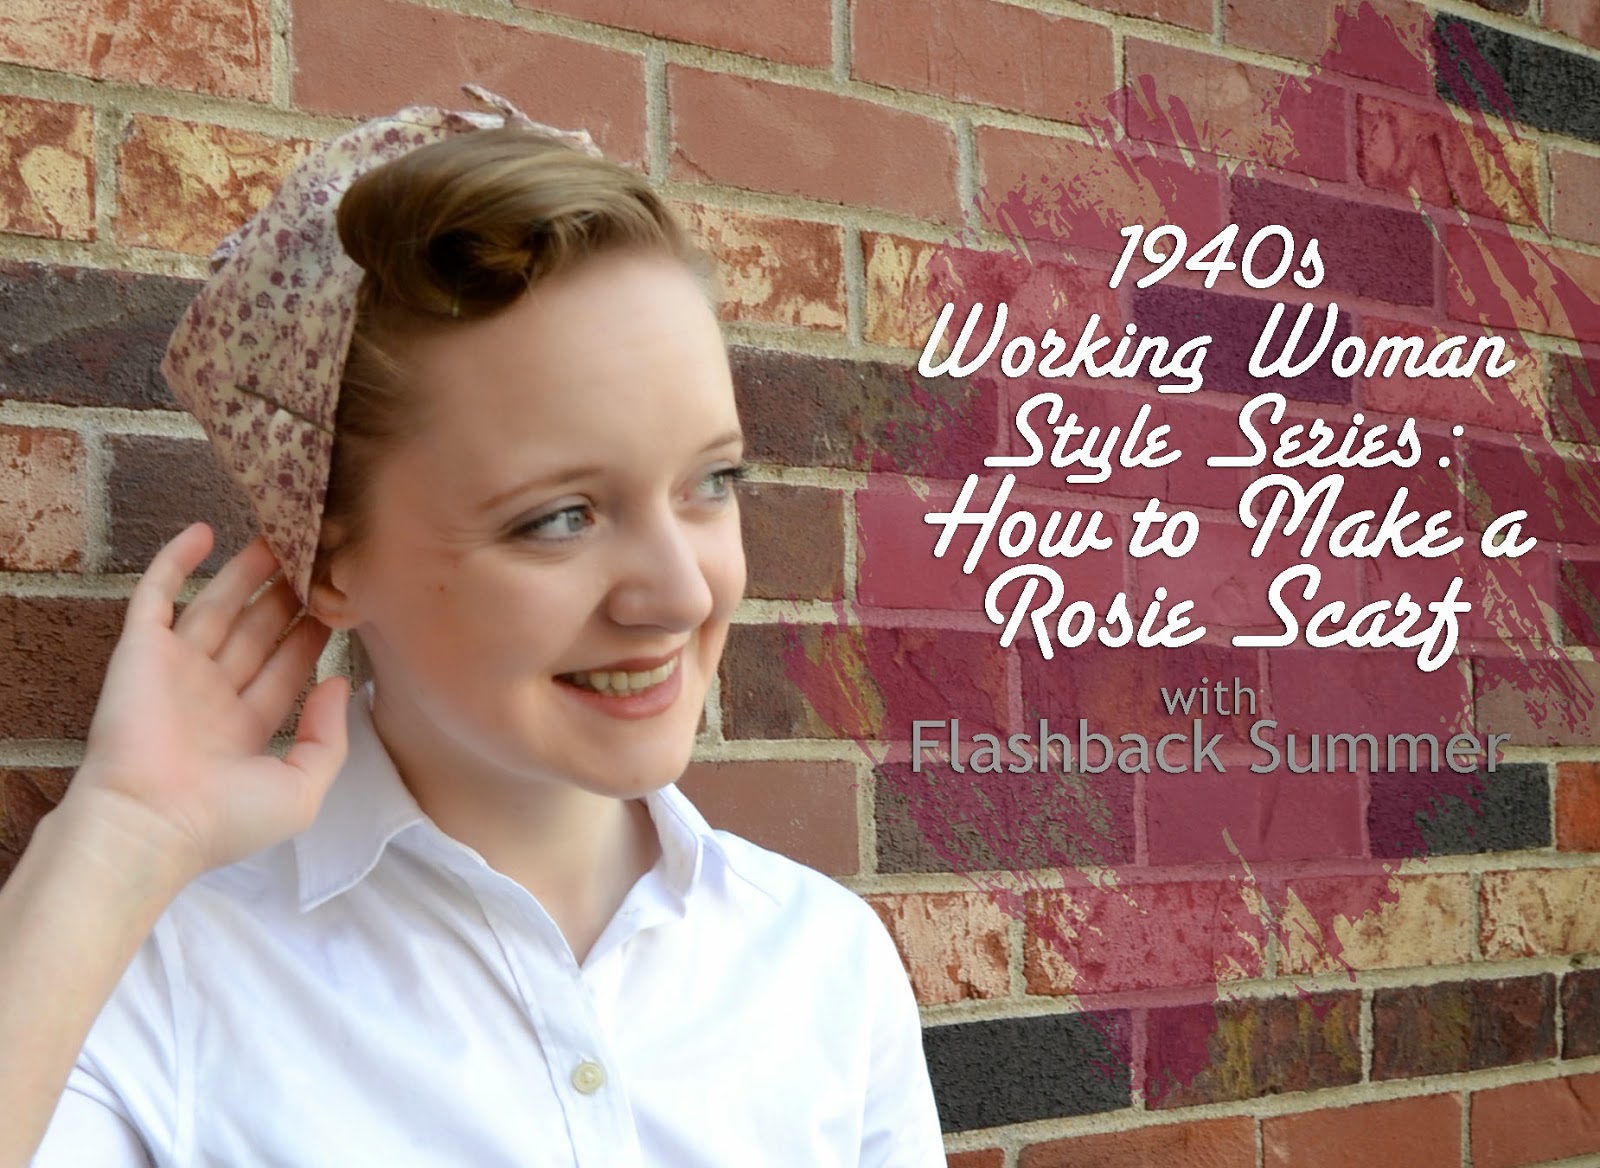
The headscarf/bandana was an integral part of a 1940s working woman's wardrobe. Headscarves provided workplace safety, comfort, practicality, and style. They helped keep women's hair out of dangerous machinery, out of the way on hot days, conveniently covering pin curls for that evening, or a quick thing to throw on and still look presentable. They're amazing!
I personally utilize 40s headscarf styles all the time, and I have one vintage bandana I found in a flea market that I especially love because it's larger than bandanas that can be found at craft stores these days and, therefore, stays on much better. Then it dawned on me..... It's just a hemmed triangle of cotton! What's to stop me from making my own?! And why not share with my friends who could also benefit?!
The tutorial is great because it's so simple. Especially if you don't sew a lot or only hand sew, this is still a project that you could do!
Supplies:
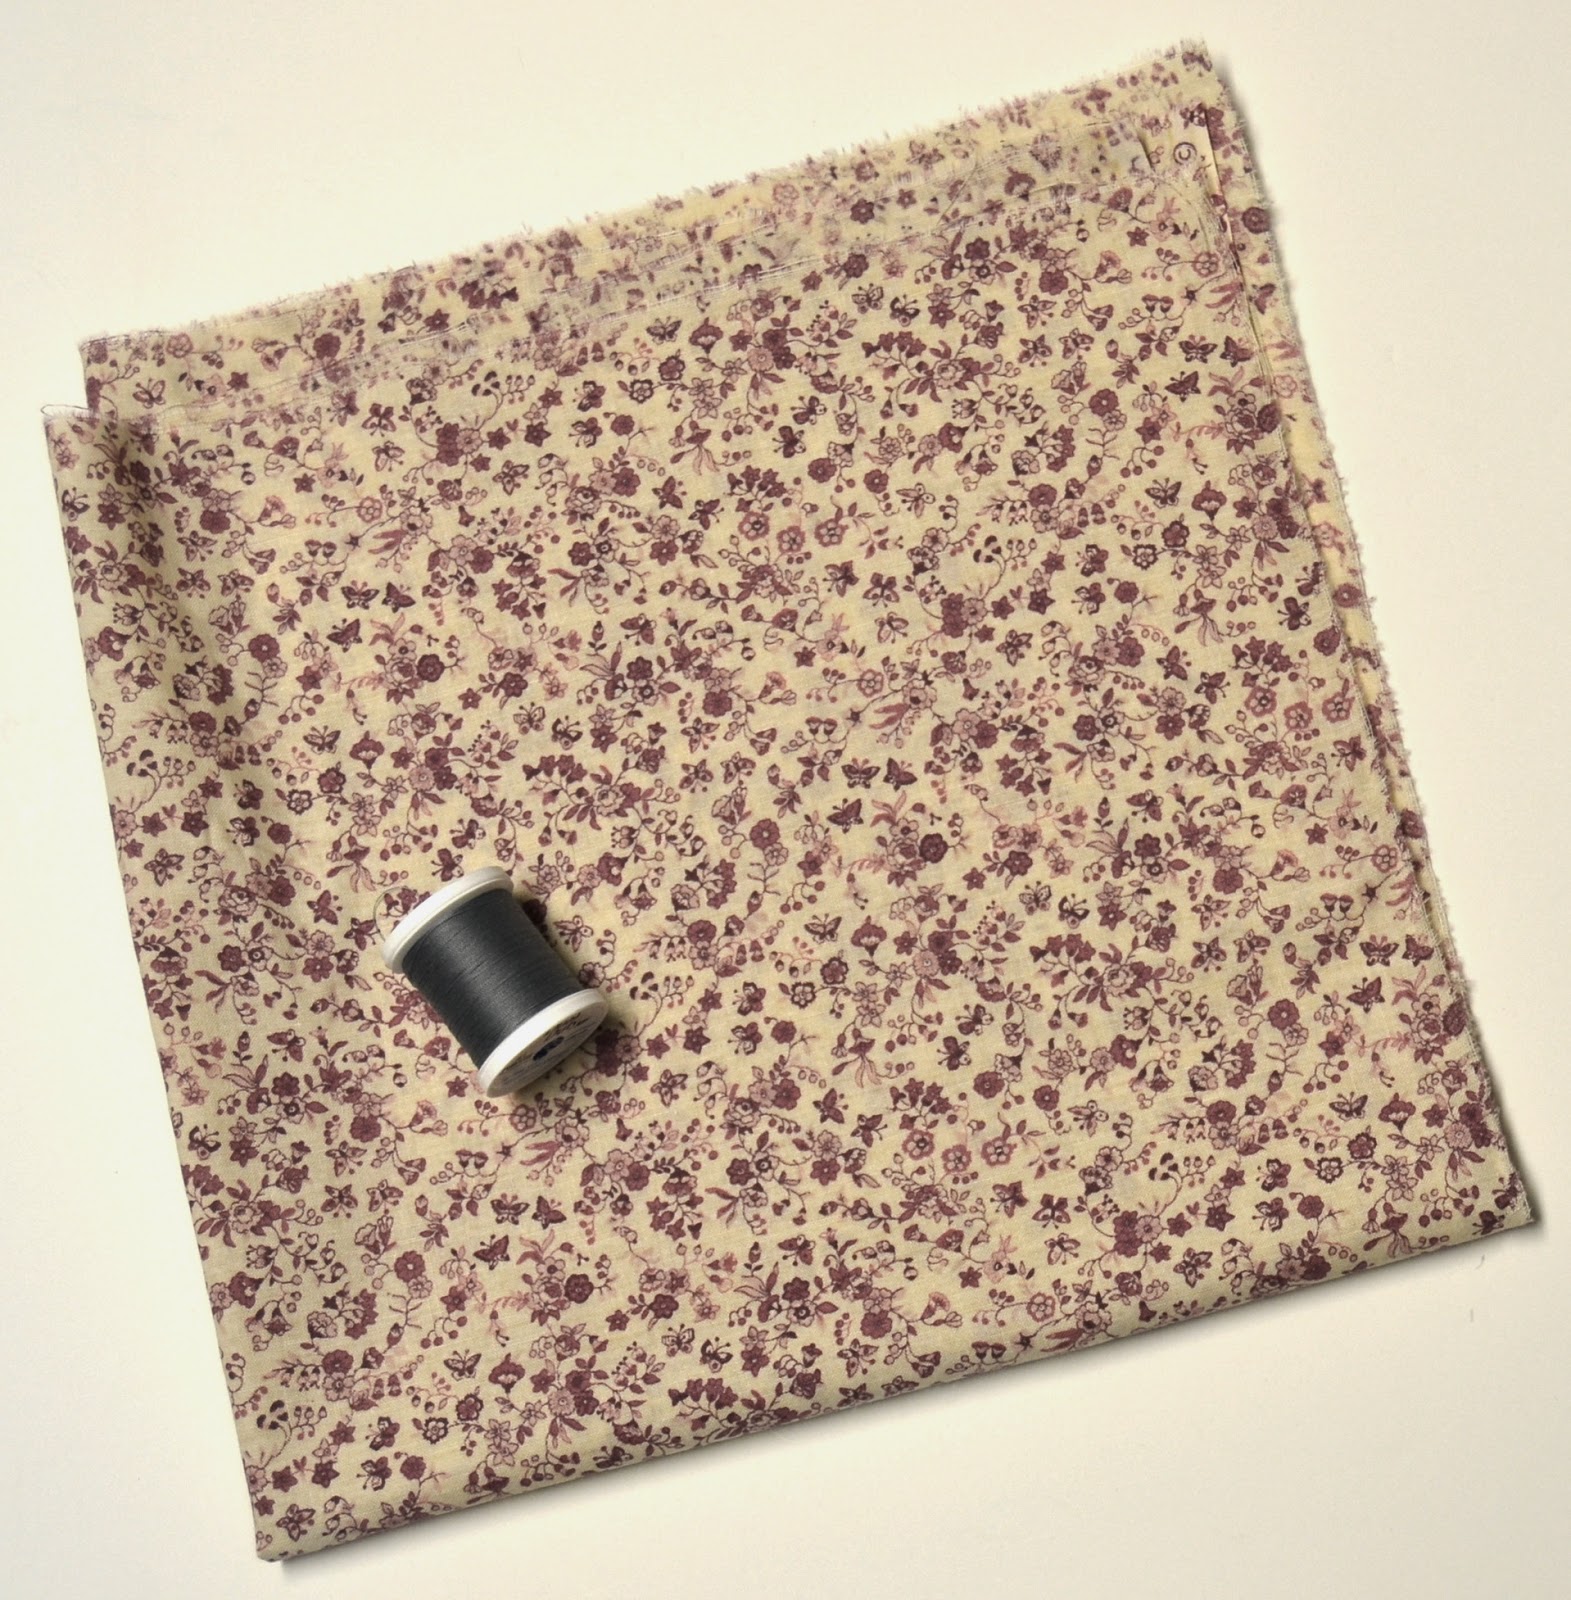
24" square of fabric (something not slippery, like cotton, is best)
coordinating or contrasting thread
bias tape (for an optional variation)
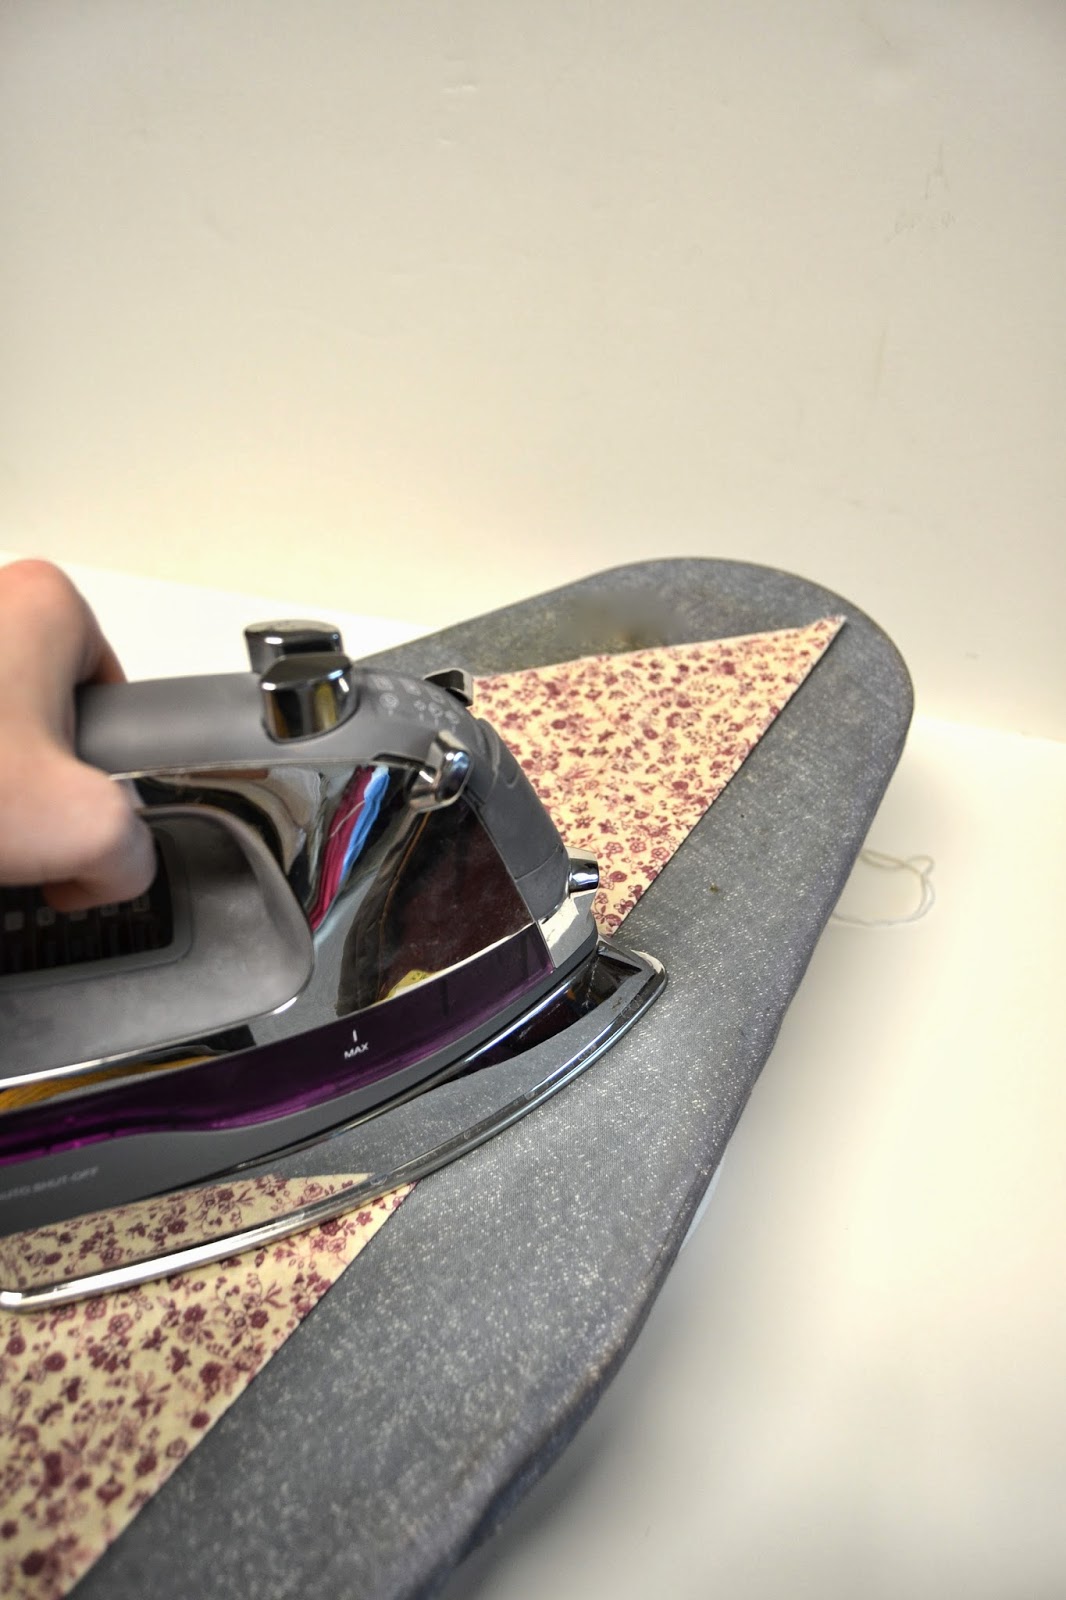
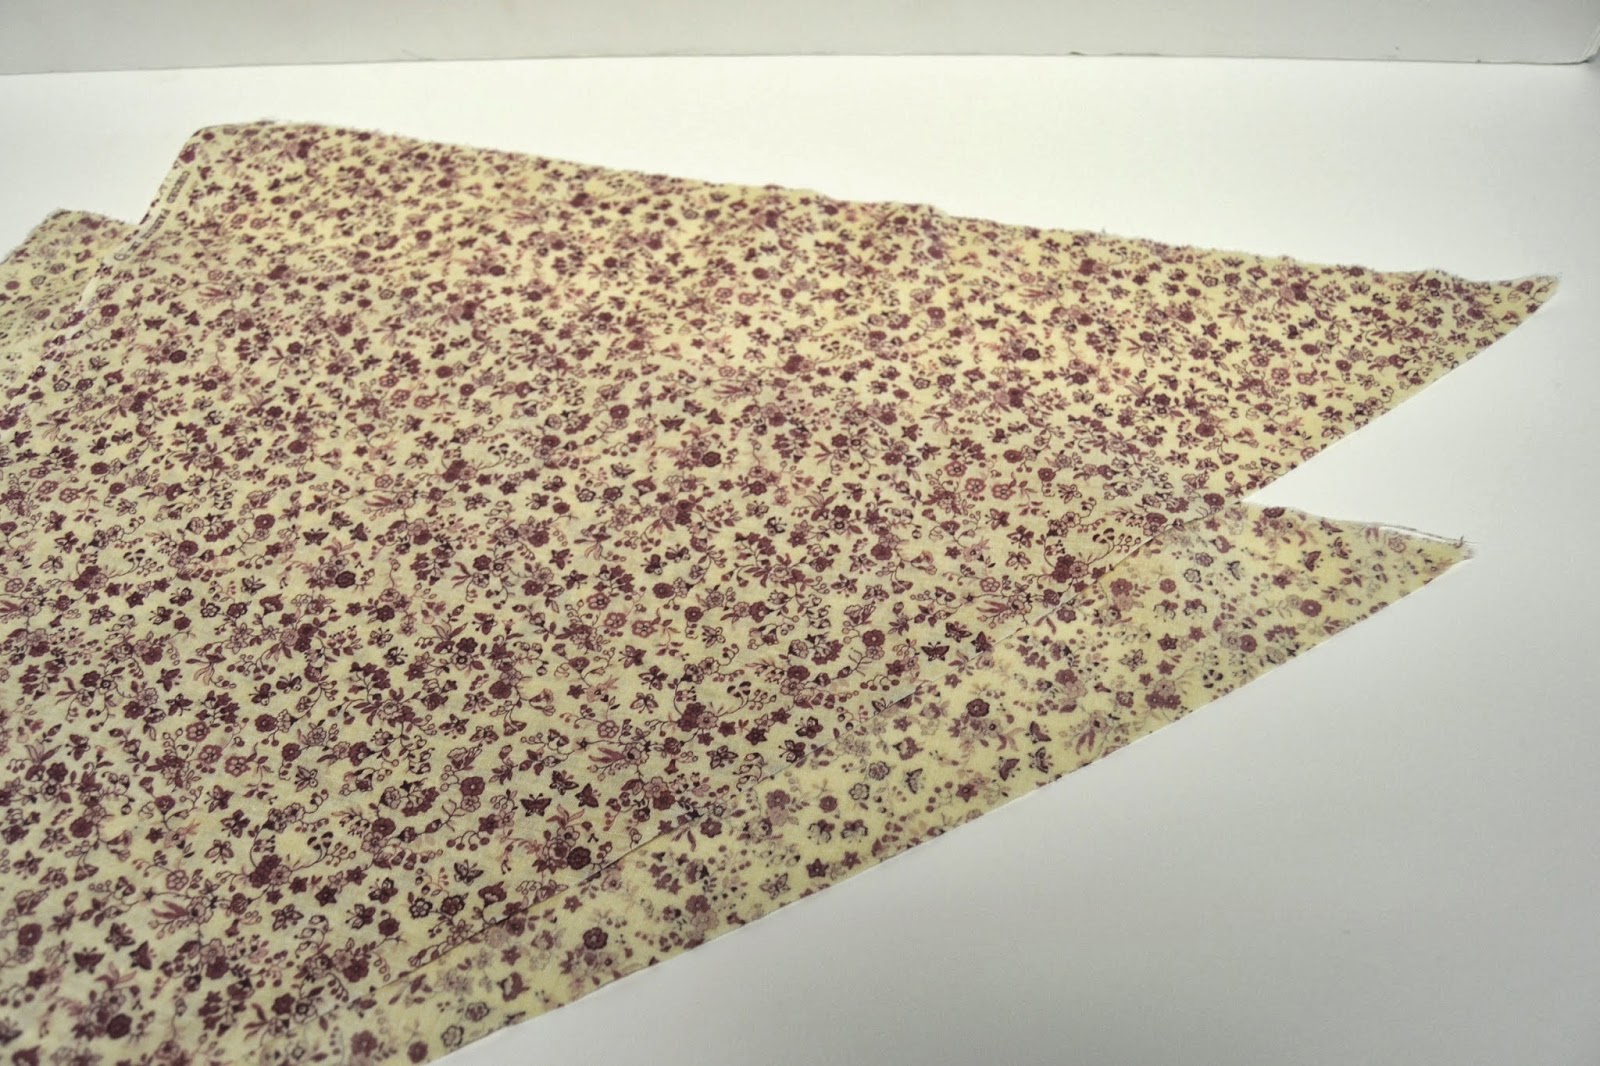
1. Take your square of fabric and fold it in half diagonally. Iron this fold, then cut along the fold line. Now you have two triangles. (Each triangle can be made into a headscarf.)
2. While looking at the wrong side of the fabric, fold the edges of the triangle in about 1/4" (for a narrow rolled hem) and press. Trim and fold the corners as necessary to make it look neat.
3. Now fold the fabric in again. The raw edges will be tucked into this next fold, so all edges should look clean. Again, trim and fold the corners as necessary to make it look neat.
4. Sew the edges of this rolled hem down all around the edge of the triangle. Iron it again for good measure!
5. Try on your new bandana!
Optional Bias Tape Variation: Instead of doing a rolled hem, fold thin bias tape in half and sew around the edge. It would look super cute, especially in a contrasting color!
And I also have a few other resources for you on how to make other styles of 40s head coverings! Options are a great thing to have!


I definitely need to learn to crochet so I can make some of those things from the patterns you shared!
ReplyDeleteSeriously great tutorial!!! I love that one could, if so desired (aka, if they didn't have a sewing machine) still whip this up by hand. Thank you very much for sharing - the one you made is beautiful!
ReplyDelete♥ Jessica
This is great, must try it sometimes, perhaps when a bad hair day comes. Thank you!
ReplyDelete