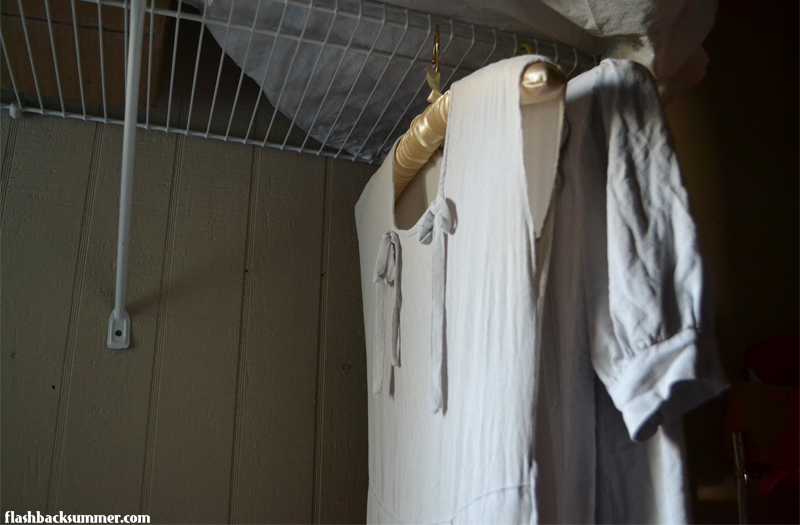
The step for this post is actually an optional one, but I thought I'd take full advantage of having to take apart the whole suit in that last step. While it's all in pieces… I'm going to trace it for a pattern! Then I can reproduce it like crazy if I want! After taking apart the suit, I ironed all the pieces so they were nice and flat:
Then, yep, the rest is pretty self explanatory. I laid out some paper and….. drumroll please….. traced the pieces! Although this dress didn't have much shaping, I made sure to include the darts and any other such bits for future renditions.
Got them all labeled, and now I have a new-old 1930s pattern!
I know that in the future I'll want to change the shaping and size of this ensemble just slightly, but these paper pattern pieces will give me a good place to start. (And I also noticed that not only do the shoulders look really sloped when worn, but the pattern pieces were actually very sloped, too! I think I'll be changing that on the next version. Not very flattering to my already-narrow-as-a-pencil shoulders) Next up, we'll be DYEING THE DRESS! (This is the scariest part, to me!)
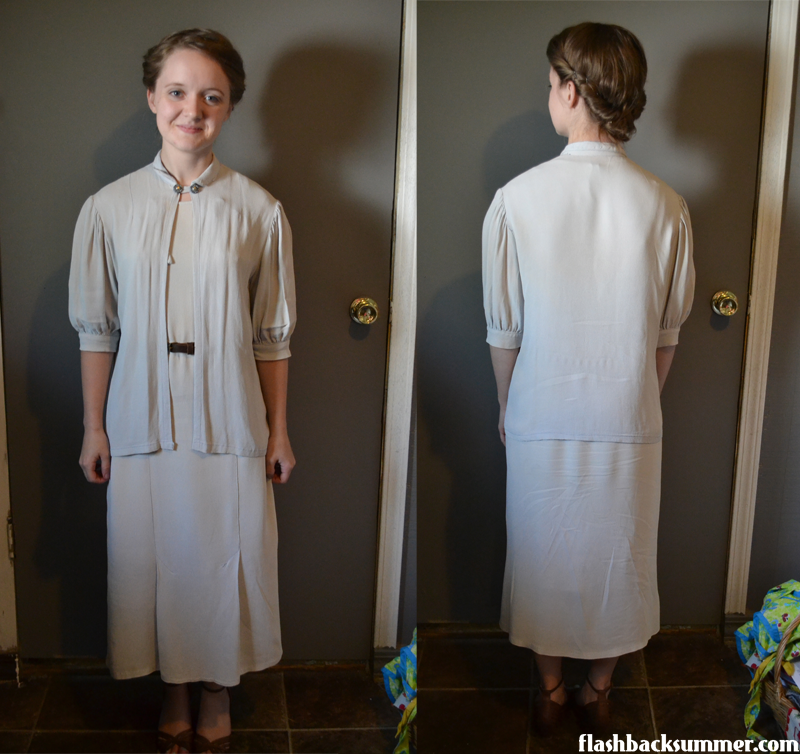
Introducing.... my first make do & mend project for the month! This one is a "go big or go home" project to start off the series with a bang. I have this 1930s gray suit that I bought on Etsy. It has a lot off issues including missing buttons, fraying seams, weird fading, and it doesn't fit me quite right. However, it's close to my size, has lovely fabric, and it's a perfect basic piece to fit in my wardrobe... if I can restore it to glory!
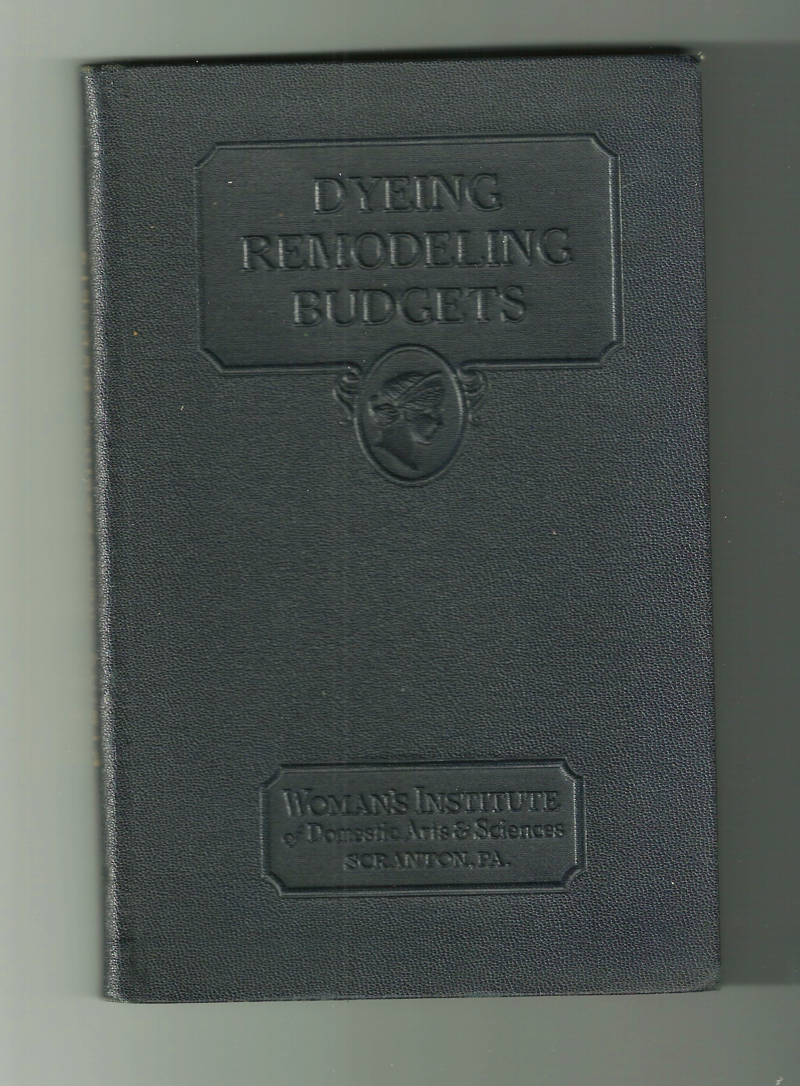
This post is going to be the first of several as I go step-by-step in my revamping process. I'll be utilizing the info from my 1938 book by Mary Brooks Picken, creator of a college for women that taught them lots of life skills. This book is part of a mail order course on dressmaking, and it is entirely focused on dyeing and refinishing garments. I'll be sharing snippets from the book and following the steps it recommends in making over this 1930s suit. I plan on repairing, dyeing, and slightly altering the size of this suit. I may also be adding some decorative elements at the end.
So, first up, you've got to prepare your garment for revamping. Remove any buttons or sequins and save them for later. (This will also keep them from being damaged in the steps ahead.) Treat the garment for any stains it may have and wash it according to its fabric. This suit is rayon crepe, so I washed it on a very gentle cycle with cold water in the washing machine and let it air dry. (This step is especially important if you're dyeing a garment. Oils and residues can mess up the dyeing process and leave splotches on a garment.) The instructions from the book below say to leave the garment wet until it goes in the dye bath, but since I'm making this into a several-day process, it'll be more practical for me to just re-wet it later.
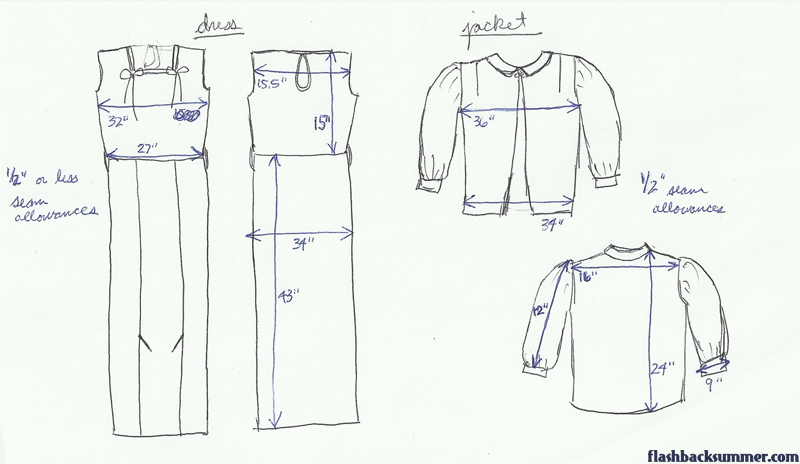
For future steps that will make sense later, I am now going to measure the dried garment. I drew a diagram of the suit pieces and filled in the measurements as I found them. I measured: - bust and waist of both the jacket and dress - hips of the dress - total length and torso length of the dress (just the total length on the jacket) - shoulder width of both pieces - sleeve length of the jacket - jacket cuff circumference - average seam allowance width on both pieces - hem depth of both pieces (mine was just 1/2" like the seam allowances)
Next is the gut-wrenching part. As recommended by the 1930s book, it is best to unpick all the stitches in a garment and get it back down to its individual pattern pieces.
So, I'm going to pop in a movie, pour myself a cup of tea and settle in for the night! My seam ripper and I are going to have a lovely evening.
In the next post I'll be talking about tracing the garment pieces and the dyeing process, so stay tuned! (And in case you are interested, here are the original instructions from the book shown at the top that I'm basing this project on! They go a bit more in depth for other types of projects and fabrics, too. I didn't know about old silks having tin in them!)
This month's theme is all about being content with what you have, and what better way to tangibly express that than to have a make do and mend project? It doesn't get any better than that!
Whether through necessity because of a lack of finances or fabric rations, women back in the day made it a habit of altering the clothing they already had to make it feel fresh and new again. To me, this is a lost art! How many times, before discovering vintage, did I throw out a garment because it got a hole in it? How many vintage pieces do we overlook because of fading or discoloration, relegating it to the dreaded "as is" pile? Well, no longer! This month I will be going through the steps of a major make do and mend project, and I'll be sharing what I learn with all of you! I'll also have a couple smaller ones as well. Hopefully they'll inspire you to refresh the items you have in your wardrobe already, too!
I'm going to show you the garment I'm going to majorly alter in a post coming soon, but today I want to talk about the kinds of alterations that were common in the first half of the 20th century. Women used lots of creativity to adjust sizing, cover up repairs, and bring new personality to old garments. Here are some actual vintage garments showing the ways women embraced "make do and mend":
They crocheted, knitted, and sewed new cuffs, collars, trims, and hats to accessorize plain dresses. (Source)
This dress shows how women took dresses and added bits to match new trends. The photo shows the woman on the right wearing the dress in the 20s, and sometime in the 30s she added a cape to fit the new, more feminine silhouette. Isn't it cool to see a garment on its original owner?! (Learn more about the garment on the University of Georgia Historic Clothing & Textile FB page. Photo credit for dress picture: Charity Calvin)
They also made accessories out of old items. This lady took old shoe laces and made floral corsages out of them! (Tutorial here!)
GASP, they even cut new garments out of old ones! Heaven forbid! (Source)
Here's a video highlighting some other ways women revamped their clothing. The robe made of scraps is my favorite!
I think we vintage wearers live with this idea that women bought new clothes to follow all of the latest trends. While I'm sure many wealthy ladies did just that, the vast majority of women, especially in the 30s and 40s, were digging in their grandma's attic to find clothes to re-do! They reused beaded bits from old 20s dresses, the trims from their grandma's Victorian clothes, and added waistlines back to their flapper dresses when the 30s came around. While I'm not a huge proponent of the idea that we should alter all the vintage... we should use these skills to save vintage that might otherwise be thrown away, unwearable, or homely looking due to aging.
Not to mention, there are no holds barred when it comes to altering the pieces we've sewn from scratch! I know I've made several projects that just don't work anymore, and I'd love to give them some updates. These classic make do and mend tips can help us learn to be content with the items we have while unleashing the creativity!
What garment(s) just isn't working in your wardrobe right now that could be revived with a little creativity? What is your favorite vintage make do and mend solution you've seen on a garment?
This Sunday, June 14th, I'm going to have a giant flash sale! All items are $20 or less and include pieces from both my personal collection and from when I sold things on Etsy, so there will be lots of sizes offered!
Here are some of the things that will be up for grabs: - pretty dresses! - lingerie - 1950s movie posters (original, not reproduction) - jewelry - hats - antique clothing - some of my me-made items I'm passing to a new home - sewing patterns (up to volup sizes, too!)
Be sure to follow me on Instagram so you don't miss out! I'll post all of the details on Sunday morning (Central Standard Time), and the sale will last all day! If you could spread the word to folks you think would be interested, I'd HUGELY appreciate it. I need ROOM IN MY CLOSET, so everything needs to be sold!
If you have any questions or would like to be tagged for specific things when I post them, leave a comment below!
In the month traditionally known for being "wedding season," it can be easy to become discontent, to wish we were at a different stage of life, that things were like they were back then, that we were as great/smart/loved/pretty/happy as that other person. Something I'm having to work on these days is trying to stop wishing I was further down the road in life. "Someday, when I'm at my dream job…" "Maybe someday I'll be able to do this…" "It will be so much better when this is what my day looks like…" or "Man, it would be so much better if I could just be at this point in my life already!" Contentment is hard, especially living in a Western society that constantly screams, "Progress!" "Ambition!" and "More!" in our ears all the time. Discontent is everywhere we look. It's in the makeup ad that promises better, clearer skin and fewer wrinkles. It's in the internet ads you read on your commute that promise "Make money doing what you love!" as you dread going to your day job. It's even in the comparison we oftentimes get into in the vintage community over that girl with the perfect figure, the huge bakelite collection, the amazing blog stats, or the Si & Am skirt. (Haha.) For me, (I'm gettin' all personal and Bible-y here for a moment) this quote from a Christian leader in the Bible named Paul sums it up, "I know what it is to be in need, and I know what it is to have plenty. I have learned the secret of being content in any and every situation, whether well fed or hungry, whether living in plenty or in want. I can do all this through [God] who gives me strength. (Philippians 4:12-13)" There are some situations in life that are unbearable, that are so difficult, that are so hard I'm not sure how I will stand up under the pressure. I know that when I ask Jesus to help me carry a load that is too heavy for me, he's always there and ready to help. I can be content in difficult situations because God gives me the strength to get through another day, and I know I'm not going to crumble.
So join with me and fight the man! Rail against the machine of our society! Wave the contentment banner! Find those things, however small, that you can be content about in the moment you are in. Wear the dress that reminds you how awesome your legs are. Take a walk out in nature to admire God's creativity. Make time to grab coffee with that amazing friend you're so glad you have.
I'll be tweeting and Instagramming something I have to be content about everyday using the hashtag #JuneContentment, and I'd love for you to join me! Use the phrase #JuneContentment, and I'll re-tweet/re-gram one every day. Let's help the vintage community embrace contentment a little more this month and, at the same time, remind ourselves of why this moment right now is great!
First of all.... I don't know if you've glanced at the header or sidebar since coming to the blog, but you may have noticed a new blog design! It's a far better, more polished version of what I had been trying to do myself, but Brittany brought it to life and un-hokey'd it for me. That being said, I'm still updating and sorting things (especially on the new, more specific pages you can find in the navigation bar), so I appreciate your patience as I catch up on things! NOW, onto the lookbook! This began with a trip to Youtube when I found out there are such things as lookbook videos. (I'm sure most of you already knew of those forever ago, but I'm an old lady and don't catch onto these new-fangled interwebs fads as quickly.) I was APPALLED at the utter lack of vintage lookbooks. (And by "vintage" I mean the kind of vintage that incorporates mid-century and older looks. Not 80s jumpsuits and 90s daisy duke shorts.) So, of course, I had to remedy that. My amazing friend Maureen offered to help me! In this video I've got three looks that I've been wearing this spring. It may look a bit scattered as to the seasonality of each outfit, but that's because Missouri is being RIDICULOUS, as usual, with its spring weather. Only a few days ago I was wearing shorts and sweating, and today I wore a coat to work. Ridiculous. However, this lets you readers in both the northern and southern hemispheres check out some clothing that may fit your current season. I hope you guys enjoy it! (And if you do, please share, comment, etc. to let me know that you do, and I'll be sure to make more of these videos!)