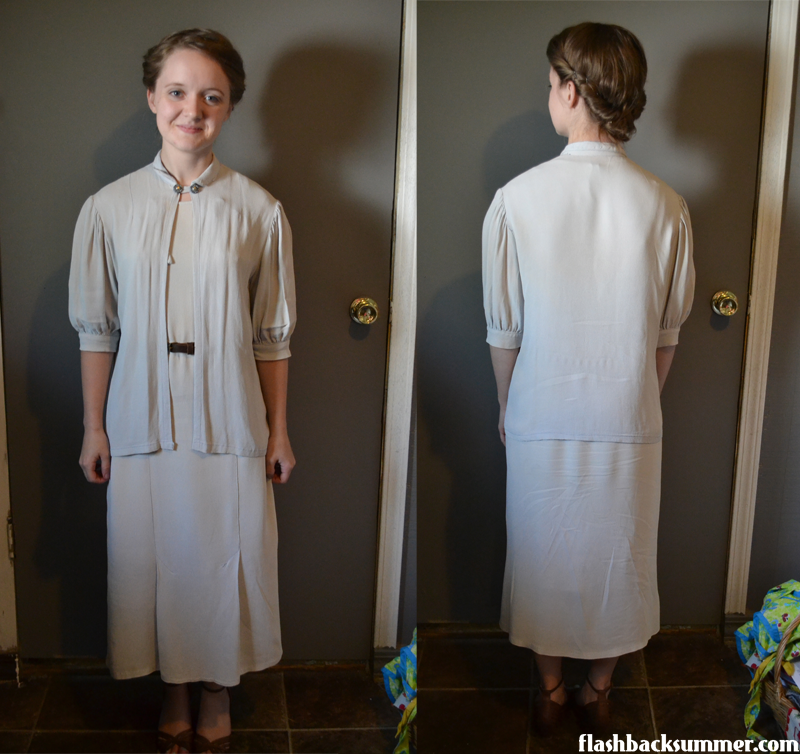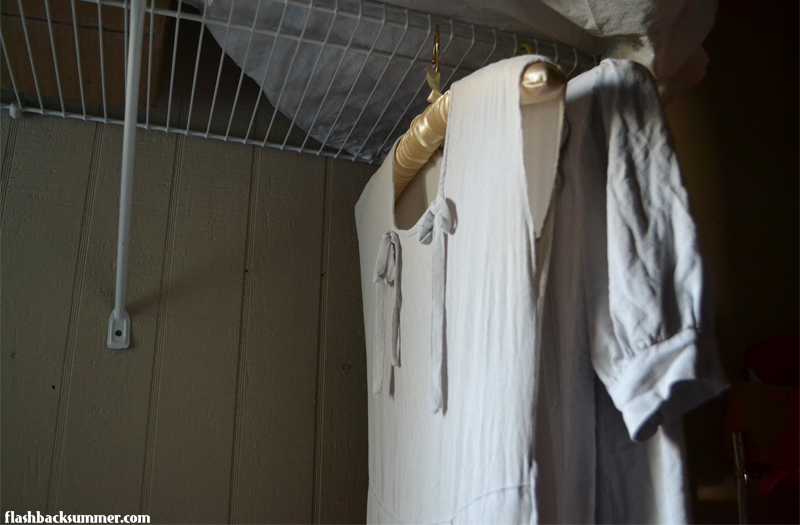
Introducing.... my first make do & mend project for the month! This one is a "go big or go home" project to start off the series with a bang. I have this 1930s gray suit that I bought on Etsy. It has a lot off issues including missing buttons, fraying seams, weird fading, and it doesn't fit me quite right. However, it's close to my size, has lovely fabric, and it's a perfect basic piece to fit in my wardrobe... if I can restore it to glory!


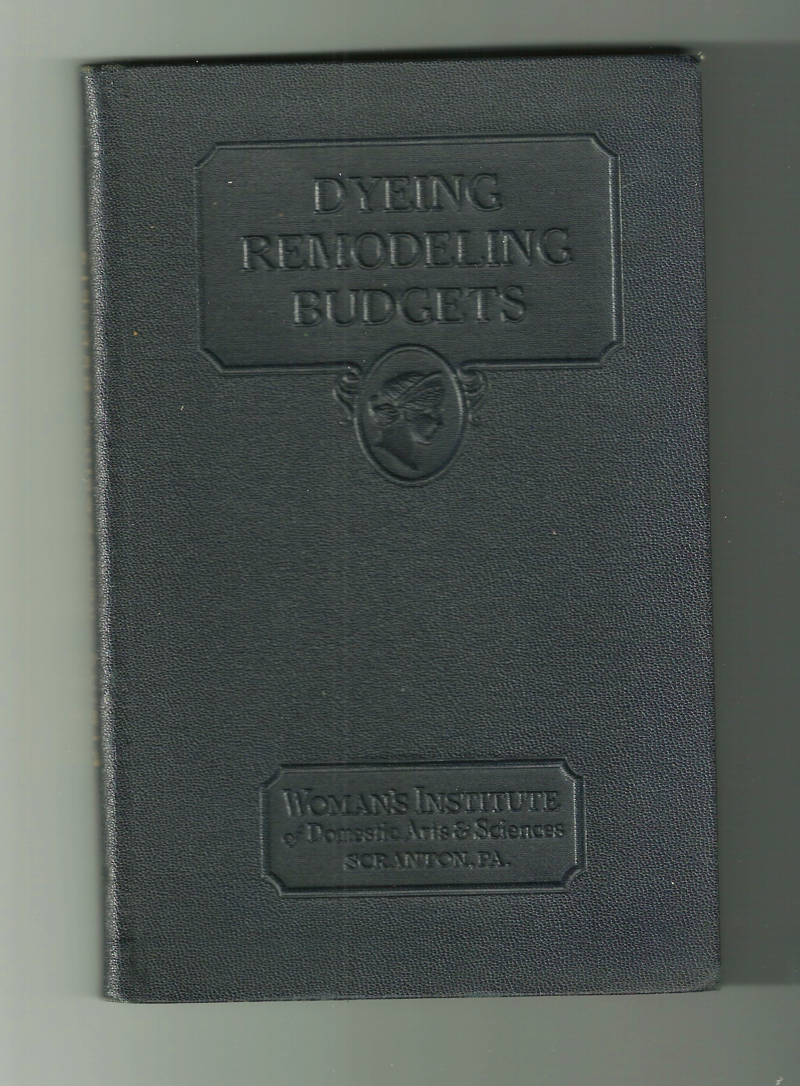
This post is going to be the first of several as I go step-by-step in my revamping process. I'll be utilizing the info from my 1938 book by Mary Brooks Picken, creator of a college for women that taught them lots of life skills. This book is part of a mail order course on dressmaking, and it is entirely focused on dyeing and refinishing garments. I'll be sharing snippets from the book and following the steps it recommends in making over this 1930s suit. I plan on repairing, dyeing, and slightly altering the size of this suit. I may also be adding some decorative elements at the end.
So, first up, you've got to prepare your garment for revamping. Remove any buttons or sequins and save them for later. (This will also keep them from being damaged in the steps ahead.) Treat the garment for any stains it may have and wash it according to its fabric. This suit is rayon crepe, so I washed it on a very gentle cycle with cold water in the washing machine and let it air dry. (This step is especially important if you're dyeing a garment. Oils and residues can mess up the dyeing process and leave splotches on a garment.) The instructions from the book below say to leave the garment wet until it goes in the dye bath, but since I'm making this into a several-day process, it'll be more practical for me to just re-wet it later.

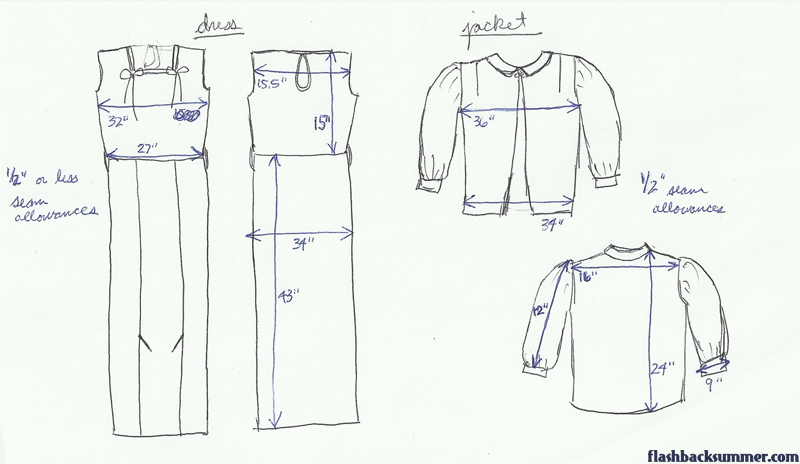
For future steps that will make sense later, I am now going to measure the dried garment. I drew a diagram of the suit pieces and filled in the measurements as I found them. I measured:
- bust and waist of both the jacket and dress
- hips of the dress
- total length and torso length of the dress (just the total length on the jacket)
- shoulder width of both pieces
- sleeve length of the jacket
- jacket cuff circumference
- average seam allowance width on both pieces
- hem depth of both pieces (mine was just 1/2" like the seam allowances)

Next is the gut-wrenching part. As recommended by the 1930s book, it is best to unpick all the stitches in a garment and get it back down to its individual pattern pieces.

So, I'm going to pop in a movie, pour myself a cup of tea and settle in for the night! My seam ripper and I are going to have a lovely evening.
In the next post I'll be talking about tracing the garment pieces and the dyeing process, so stay tuned!
(And in case you are interested, here are the original instructions from the book shown at the top that I'm basing this project on! They go a bit more in depth for other types of projects and fabrics, too. I didn't know about old silks having tin in them!)


I love this idea! I will be eagerly awaiting your further steps and the reveal at the end. I used to restore vintage bridal gowns and re model them also. It is amazing when you compare the original and finished results. Good luck!
ReplyDeleteWow this all looks incredibly involved - and incredibly clever! The idea of ripping something apart at the seams gives me palpitations, but I've got this funny feeling this suit is in good hands with you... Can't wait to see what happens next!
ReplyDeleteHa, I won't lie, I would NOT attempt this with just any garment. This one happens to be a really simple construction with no lining our anything, so it's more doable for me. I'm labeling pieces REALLY well though!
DeleteI can't wait to see how your suit turns out Emileigh! I will be eagerly following along as you reconstruct it and give it new life! And thank you for sharing the pages from the Women's Institute book! I am going to be restoring a 1940s jacket in a few months time, and this will be so helpful!
ReplyDeleteBlessings,
Brigid
the Middle Sister and Singer
How exciting! Even in its original form, it has so much beautiful potential. I can't wait to see how the rest of the process goes!
ReplyDeleteMary Brooks Picken is one of my sewing heroines! I have a reprint of the 1920's pattern drafting book, which I used to make myself some blouses that fit better than anything I've ever made from a commercial pattern.
ReplyDeleteThe dress looks really cute on you, it seems to me that when you adjust the shoulders on the jacket, the sleeves will automatically shorten which will help (right now they are right at the waistline which I think is not flattering on anyone). The whole ensemble is lovely, I can't wait to see what it looks like when you finish!
regards,
Theresa
Can't wait to see how this turns out! What a project. Thanks for sharing the original source material too!
ReplyDelete-Emily