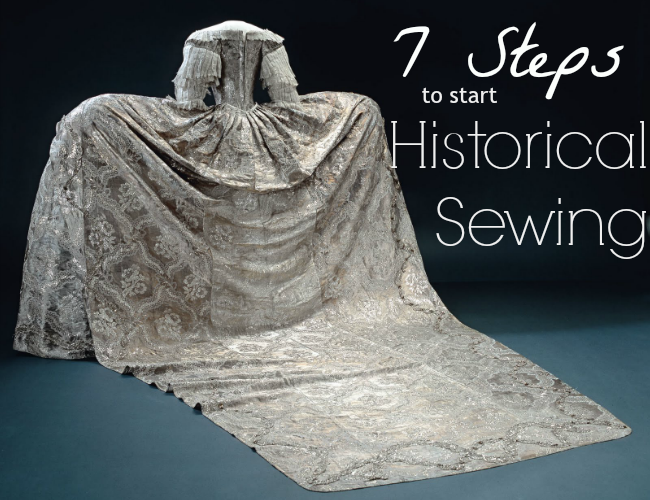
No, you don't actually have to sew a dress this ginormous… Unless you want to!
For… pretty much ever, I've loved historical garments. Who doesn't like giant hoop skirts, elegant fabrics, and yards of lace? Well, at least, I definitely do! I loved to imagine what it would be like to wear clothing like Anne of Greene Gables, Elizabeth Bennett, or Scarlett O'Hara. But I never really considered actually making it. I mean, I thought it would be cool, but it just had to be hard. All those new undergarments, and *gasp*… making a corset?! That's for couturiers and fancies, not "normal" sewing people. Surely one has to go to a sewing school for a while to make this sort of thing…
However, the more I learned about vintage sewing and, later, historical/antique sewing, I realized this isn't true! While some things can definitely be complicated (and expensive), it's doable when attempted step by step, in bite-sized pieces. So this is what I'm going to do! I'm delving into the world of historical sewing!
(Obviously, I'm not a new sewist. If you are, I wouldn't start with historical costuming. Get basic sewing and pattern-altering skills down first!)
At first, I was totally overwhelmed. There seemed to be SO MANY new terms, sewing techniques, supplies, and things I had never heard of before. If you're like me… Never fear! It's going to be okay! This IS possible! In case you're in this spot, too, here are my tips so far in figuring out how to start historical costuming:
Now, understand, I am not an experienced historical costumer. I just know that I've hit some walls in starting historical sewing, and I thought I'd share my tips--from a beginner's point of view--that helped me not feel so overwhelmed and confused! I hope they help!
1. RESEARCH.
Get on Pinterest, read blogs, look at Google images of different time periods. Pin things that seem extra pretty to you, then go back and see if a certain era kept popping up. This may be the time period you should go for first! If you like it… try it!
Another thing to consider would be what sort of historical costuming events may be happening in your area. This could be a good motivator, and it may also help determine a time period for you to work with. I'm not planning for a specific event, so I went with the first Pinterest strategy.
2. RESEARCH MORE.
Learn the nuances of the era you like. If you've figured out, for example, that you like Civil War era dresses, then start studying what dresses looked like right before, during, and right after the war. Get familiar with trends and read up on what characteristics are particular to this period. I even began to test myself on Pinterest by typing in a time range (like 1870s-1890s) and guessing specific years each garment was from in that era. (Of course, Pinterest isn't 100% reliable, but it makes you think!) This helped me sharpen my observation skills and remember what trends are common in the era I'm looking for, and how to differentiate between the years before and after it.
3. Gather ideas.
Once again, I pinned. I made a Natural Form Goals board in which I placed pictures of garments, fashion illustrations, paintings, and reproductions of Natural Form (or close) garments whose fabric, trim, or silhouette was especially lovely to me. This will give me ideas for my garment projects later and determine what kind of look I'm shooting for.
4. Figure out what's needed to create the look.
Blogs were especially useful to me at this point. Now that I knew what look I liked, I needed to figure out how to create it. What undergarments are necessary? Are there defining features of the corset or other undergarments that are particular to this period? For the Natural Form era, I learned that I will need Natural Form hoops, a corset, a petticoat, a chemise/drawers or combination, and probably a bum pad. These are going to be my starting projects. Also look into the kinds of fabrics used and what prints were common. Fabric goes a long way in making a garment look authentic.
5. Who is the expert in this era?
Find out who is knowledgeable. Look for blogs, Facebook groups, books, and articles written by experts that can help you in your journey. Especially when it comes to sewing the garment itself, look for pattern reviews or blog posts that can show made-up garments and tell how historically authentic something is. If in doubt, join a Facebook group and ask lots of questions or contact a blogger that has a lot of experience to help clarify things for you. (Though, as a blogger, I'd suggest combing their blog for relevant posts first. If you still don't find an answer, then ask!)
6. Decide what project to do first.
Take into consideration the order of your projects. It will do you no use to sew a dress if you don't have the proper undergarments. You'll have to readjust it all later anyway if you go that route (and it won't look right to begin with), so it makes sense to start with the inner layers and work out. For me, this means I'll be making a chemise and set of drawers first, then a corset. After that I'll do the other undergarments, then finally the outer layers and accessories!
7. TAKE THE PLUNGE!
Buy the pattern book. Get the sewing supplies. Get to clicking/shopping and just DO IT. Take the leap. I just got my pattern book, so this is the stage I'm at! It's time to start SEWING!
Here are some blogs and resources I found helpful as I researched:
The Aristocat - This blogger has done a lot of time periods (back to the 1600s) and creates MAGIC.
Before the Automobile - This is the same blogger behind the blog above, with more posts! More awesome history and gorgeous garments to gawk at!
Festive Attyre - Jen creates clothing from the Renaissance up to mid-20th century. I found her posts on 1870s garments, skirt supports, and corsets VERY helpful.
American Duchess - Well-known in historical costuming circles, this blog is full of good stuff from lots of eras, especially the 1700s.
The Dreamstress - She has lots of examples of period garments with careful, observant descriptions, along with several sewing projects, explanations of terms, and history. Her 1870s posts were great for me!
What other blogs/websites have you found useful in researching for historical costuming information? Have you delved into historical costuming? What eras are most intriguing to you?
I wanted to drop a note to tell you guys that I am indeed still alive, I'm just unable to post at the moment. I've been traveling for work the past week, and it was CRAZINESS. Things snuck up on me faster than I anticipated, and I didn't have much time for blog planning-ahead.
Then, now that I'm back, I'm looking at getting caught up on things and this is a small glimpse of how I feel:
So, in order to preserve my sanity and get things back in order, I may have a bit more of a pause in my posting. Don't worry, nothing is wrong, I'm just waiting until I have time to post some good content for you guys instead of shoddy "meh" posts. I do have some sewing projects I've been working on that I can't wait to share, so stay tuned!
A few months ago during a Craftsy class sale, I bought the Couture Dressmaking Techniques class taught by Alison Smith. It wasn't until recently that I dove in and started watching each session because I wanted to be sure I could dedicate proper brain power and concentration to really learning the techniques Alison covers. WOW, have I learned a lot!
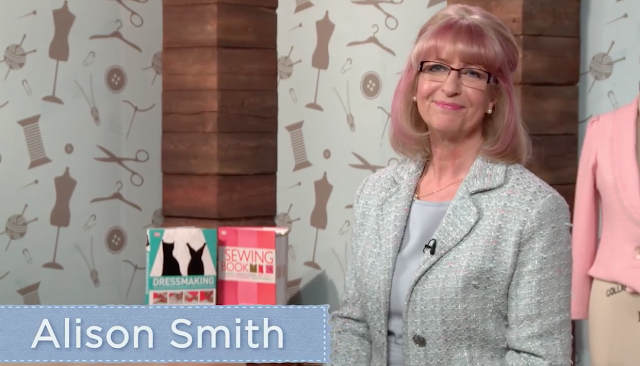 The class has seven sessions that cover all sorts of couture techniques for finishing seams, boning, sewing curved seams, pressing, setting in sleeves, and making your clothes looking generally a million percent better than they did before.
Probably my three favorite tidbits I took away from the class have to do with fabrics, darts, and pressing. Alison covers which fabric pairings work for underlining and lining garments, and she even explains the reasoning behind it to help you make your own educated pairings. BLEW MY MIND. I've always been a bit unsure of which fabrics to pair up, and I knew very little about underlinings. This section was hugely helpful to me.
The class has seven sessions that cover all sorts of couture techniques for finishing seams, boning, sewing curved seams, pressing, setting in sleeves, and making your clothes looking generally a million percent better than they did before.
Probably my three favorite tidbits I took away from the class have to do with fabrics, darts, and pressing. Alison covers which fabric pairings work for underlining and lining garments, and she even explains the reasoning behind it to help you make your own educated pairings. BLEW MY MIND. I've always been a bit unsure of which fabrics to pair up, and I knew very little about underlinings. This section was hugely helpful to me.
Next, the darts. She talked about all things darts: sewing, balancing, stitching down, and pressing them. I tried balancing, stitching down, and pressing some darts on a pair of pants I'm working on in the way she recommended, and they are probably some of the fanciest darts I've ever done! MIND BLOWN AGAIN.
Then my last favorite thing had to do with pressing in general. At first I thought this Alison lady was crazy in the things she suggested, but when I tried it… it was like magic. Now I need to get all the tailoring hams and rolls and everything, just for the ironing habit I'm going to have. It makes a HUGE difference in how a garment looks.
I haven't even gone over half the things I learned! She made boning accessible, sleeves much easier, and… Overall, I would HUGELY recommend this class to anyone that wants to take their sewing up a level. It's great for learning techniques to make your clothes look better, and it's also helpful for making your clothing more durable and long-lasting. As a vintage sewist, I would say it's a must-have class. We love the clothing that has survived for decades, often due to many of the techniques Alison shares. It can not only help you recreate vintage with the same quality high-end originals have, but it can also help repair and alter vintage in an era-appropriate way.
The class is on sale right now for $44.99, and you can learn more about it on the Craftsy site here!
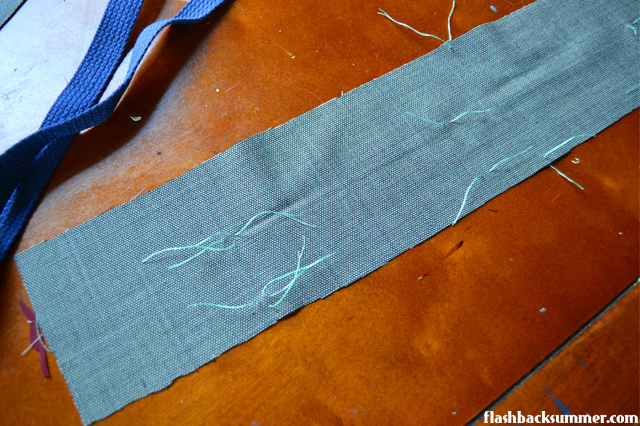
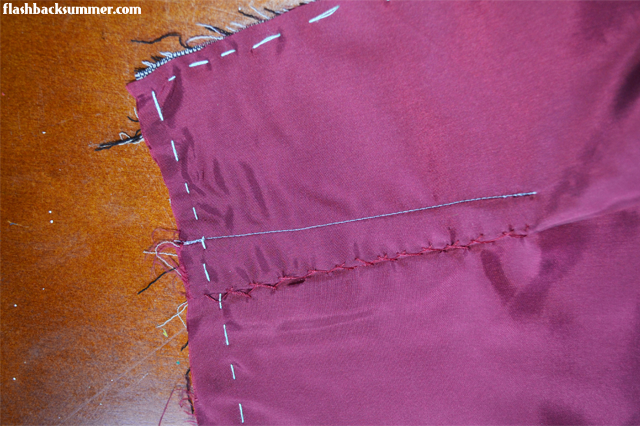
Soon I'll show you guys the project in these pictures, too! You can probably guess what they are if you've sewed for a bit, but I'm going to keep you in suspense for the reveal!
Craftsy has not collaborated with or compensated me in any way for this post. Though, if they'd like to, I'd certainly welcome it.
I don't know what the deal is, but Missouri is HOT right now. Not Sahara Desert hot, but definitely way hot for Missouri. And the main difference between Sahara hot and Missouri/U.S. hot is that in the U.S. it's generally not socially acceptable to be sweaty in public, especially for ladies. We have air conditioning everywhere, so that is not too hard… as long as you don't actually go outside. Sahara hot is different because everyone knows you can't do anything but turn into a sweaty puddle when it's 130 F/54 C so nobody cares.
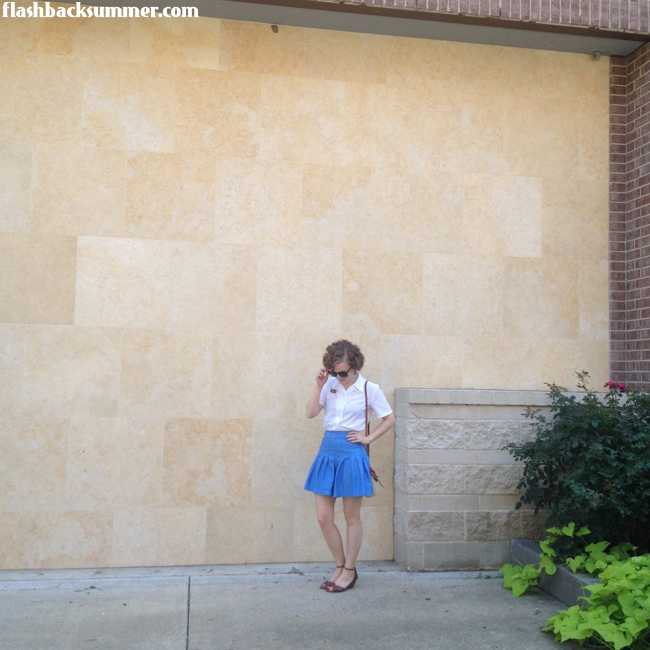
So when it comes to being U.S. hot in Missouri, it requires very wise clothing choices that will be cute AND not show sweat. This is the outfit I went with.
These are phone pics from my sister from our hangout day with my mother in law. We visited a local tea room then went shopping in another town to try to find some shoes in the store that my tiny doll feet could try on. (I wear a US 5. Try finding a 5 in a store without special ordering. Very difficult.)
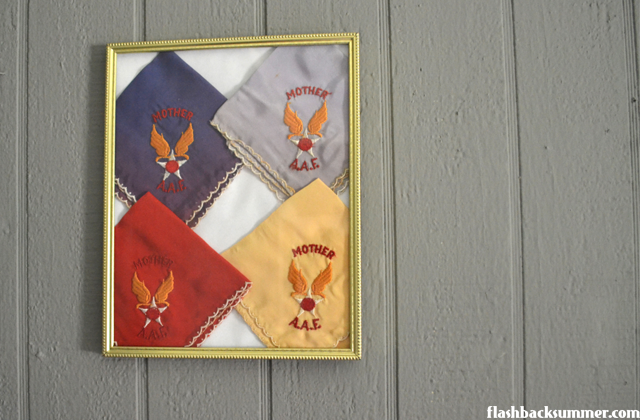
ANYWAY, besides shoe frustrations, it was a lovely day. I wore my authentic vintage 1930s shorts that people often think is a fluffy mini skirt, brown wedges, and my me-made 1940s white button down blouse. My hair fared surprisingly well, and I topped it all off with sunglasses and a brooch my mother gave me.
These are both solid, plain garments, but I think they're a testament to the worth of these kinds of pieces. The outfit looks SO very late 30s, early 40s in its simplicity. Most "real" people in this time didn't have lots of fancy dresses; they had versatile pieces like these.
Also, random note, these puffier shorts make me look like I have stick legs. So maybe… if stick legs are a look you'd like to achieve, this could be an unintentional fashion tip? I guess the roomier fit does make legs look smaller, in comparison. So… there you go, unintentional fashion tip o' the day.
Outfit details
1930s/40s shorts: OLL
1940s blouse: handmade by me
shoes: Payless
sunglasses: F21
brooch: gift from my mother
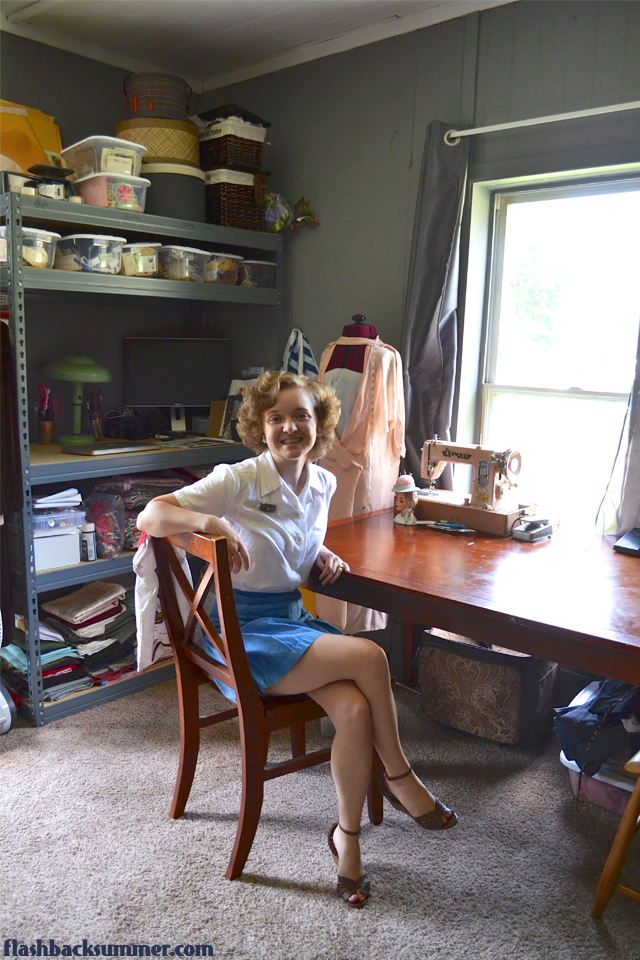
Hello again, friends! It's been a couple weeks since I last posted, but I'm back! Part of my blog absence had to do with finally finishing unpacking and cleaning our new-to-us house we moved into a month ago. It's nothing fancy, but today I'm going to share some pictures of my sewing room with all of you.
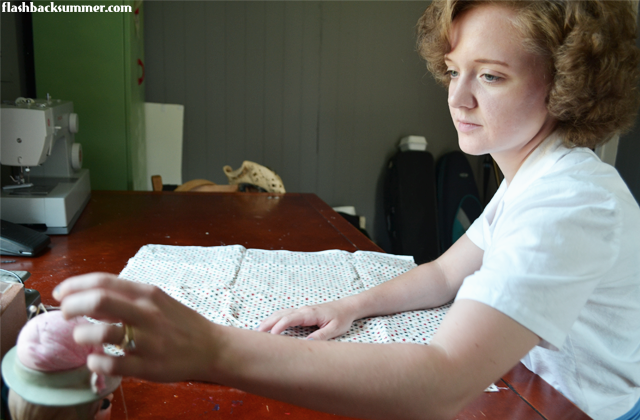
I'm so excited to have a sewing room. SO EXCITED. It's pretty big, has two big windows, and it holds the table we bought of a friend. I've never had a real, big table I could cut fabric on! I've always used the floor. Am I moving' on up to the East Side or what?!
I'll admit, my sewing room isn't exactly Pinterest-perfection, but it works really well for me. It's functional, and I'm just so glad to have a whole room to keep my projects in that I don't care!
I wrote a post about my 1950s Atlas sewing machine, if you'd like to know more!
Okay, this has been the project from heck.
Hence the blog silence.
As I said on my IG account earlier this week, I've had some big life stuff to prepare for, and this project has been… difficult, so I just now have the chance to post. And despite my grand plans for a fantastic photo shoot… It has been raining for days. I just can't catch a break! Anyway, I've done my best with what I've got and I hope you enjoy it!
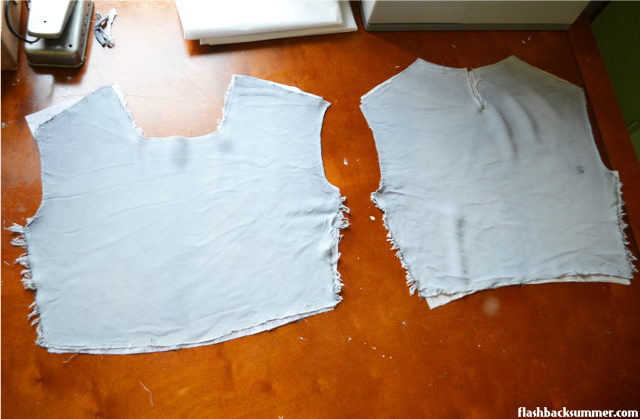
You guys read about how my 1930s fabric shrank when I dyed it. Well, it did shrink, but not nearly as much as I thought! After hanging on the line to dry outside and some steamy ironing, the pieces were very close to their original size. In the end, they only ended up shrinking an inch or two in length on a couple of the pieces. (The picture below is the bodice pieces on top of the pre-dye tracings I had made.)
While that was fantastic to find out, I did still have some other issues. I couldn't just sew it all back together as before.
The skirt seams were very fragile, and I was afraid that putting strain on them at all would tear them out. They had been like that to begin with, but when I took the garment apart I was able to see the extent of the damage. I needed to be able to increase the seam allowance and sew on a sturdier bit of the fabric instead of the 1/2" allowance, but that meant losing the tiny bit of ease I had, making it unwearable for me.
So… I got some creativity going. First, I tried adding some of my contrast fabric at each of the side seams and sewing the skirt back to the bodice.
It was hideous. A 1930s sack. With random green bits. And it was too short-waisted, even for a short gal like me! An alternative solution had to be found.
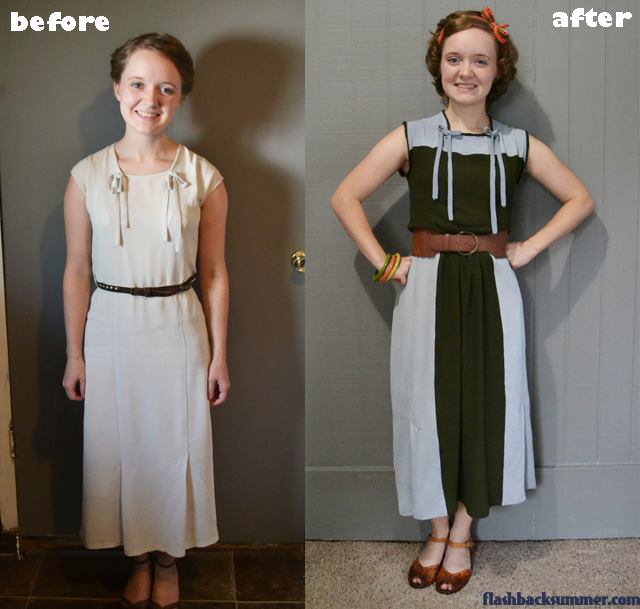
I researched how 1930s garments tended to arrange color blocks on a garment (by looking at Pinterest and one of my 1938 Mary Brooks Picken books), and I came up with a plan. I knew that they would add fabrics to too-small pieces (because my 1938 book recommended it, as you can read below), so that's what I did. I added length with the green fabric at the bodice, then increased the hips by adding a gathered panel in the middle of the skirt. I also added a bit more shaping to the waist on the gray piecesto prevent the sack look and make the top more bloused. I still had to leave the waist large enough to put on over my head without side closures. The original garment had that and I'd like to keep that element if I could.
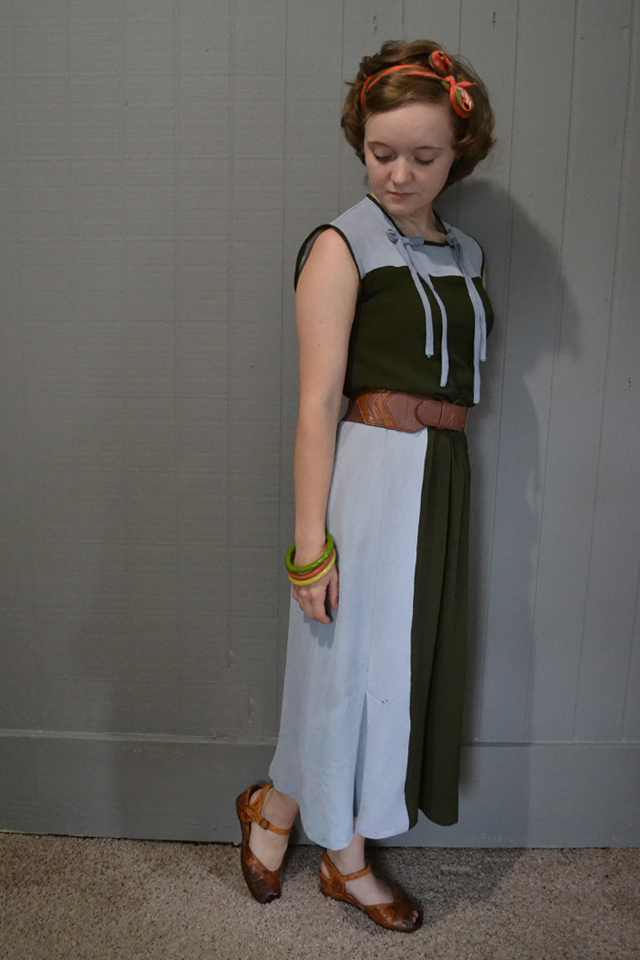
And while I will wait until the next post to share about the jacket, this is what I got on the dress!
I won't lie, I like it better than before. The solids are still easy to mix and match with accessories, but I get to incorporate a color I don't have much of in my wardrobe. It's a period accurate way to increase the size of an old garment, either for a bigger person or to refresh its look. A near disaster has become a win!
To read more refinishing tips from the 1938 Mary Brooks Picken book, click here.
Supplies
Green fabric: new rayon crepe
P.S. I got my hair cut! I am still working on my pin curling skills with such short hair, but here it is with THIRD DAY curls! How great is that?! I hope to exhibit a better first day set soon.