
When I went to my friend Molly's house, I noticed she had several shadow boxes filled with beautiful arrangements of dried flowers. I asked her about them, and she explained how many of the flowers were from special occasions, like her wedding. She had dried the flowers and made these lovely boxes herself!
They remind me of antique and vintage frames that often hold a wedding veil, photo, and flower crown to commemorate them for decades after the event. It seems a perfect way to save flowers that would otherwise be ruined over the years, and Molly was kind enough to work with me on a tutorial to share with all of you so you can make your own!
 Supplies you'll need: dried flowers, a shadow box, scissors, straight pins, and dried flower preservation spray
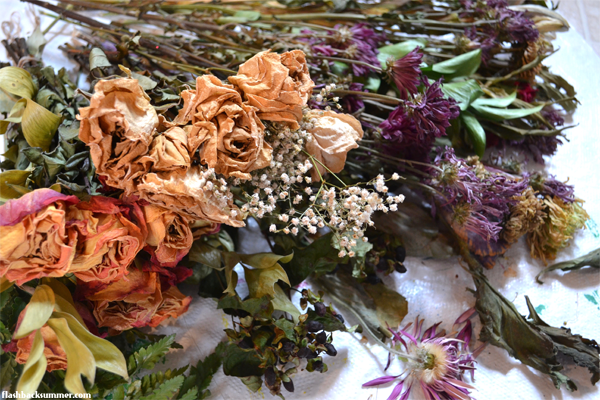 First, dry the flowers you would like to use. You may need to experiment a bit because not all flowers dry well, and oftentimes they may even change colors completely. Baby's breath, roses, and many types of greenery usually dry quite well, while daisies and other many-petaled flowers may not do so well in the drying process.
 Next, spray all of the dried flowers with the preservation spray in a well-ventilated area. This will help them retain their color.
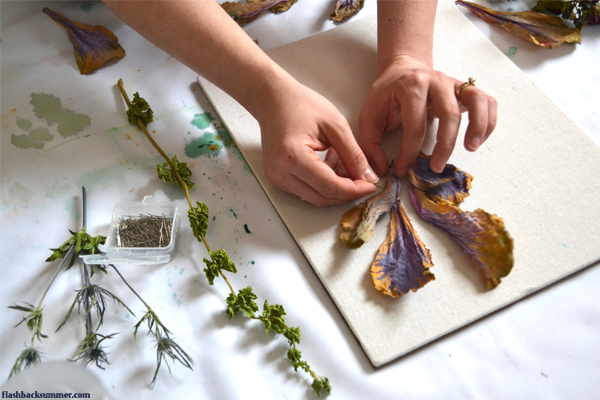
Now crank up some tunes and grab a coffee; it's time to start the art! Remove the back board from your shadow box. Use straight pins to secure plant bits to the board. (Molly has tried using both pearl-topped and plain straight pins. She says both work well, but it will affect the look of the piece. Pearl pins will add an antique, feminine touch, and the plain silver ones will blend in more subtly with the piece.)
 Arrange the flower petals and leaves in a way that looks good to you. Don't be afraid to take flowers apart or cut pieces off to make it aesthetically pleasing.
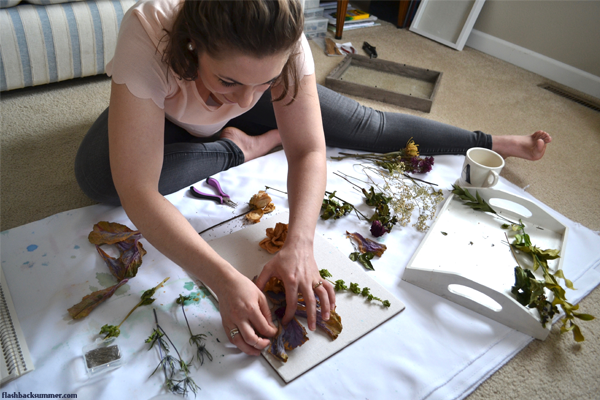
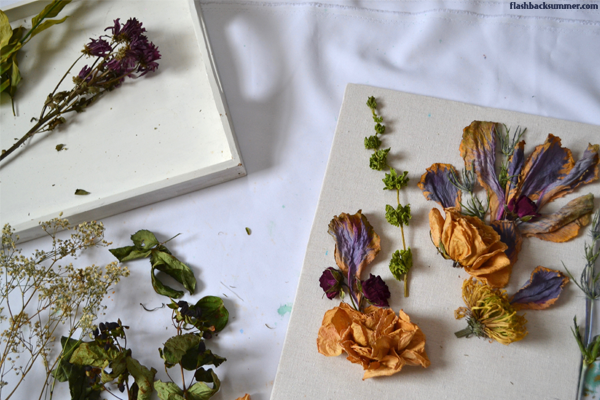

When your arrangement looks good to you, pick up the board and shake it a tiny bit to make sure each piece is secured to the board. Add more pins where necessary.
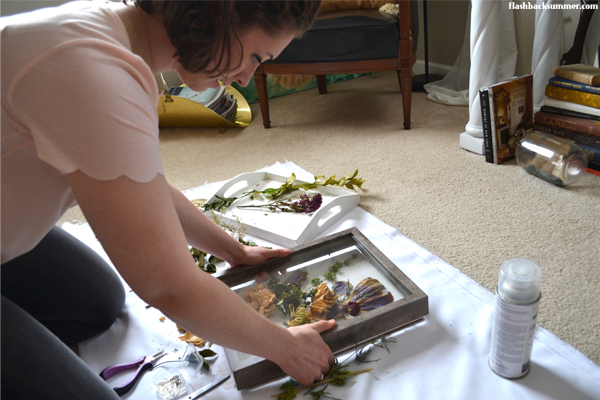 Next, take the top of your shadow box and lay it on the board. If any blossoms look especially squished by the glass, you may want to flatten it out a bit. It's up to you, really. As long as you like it!
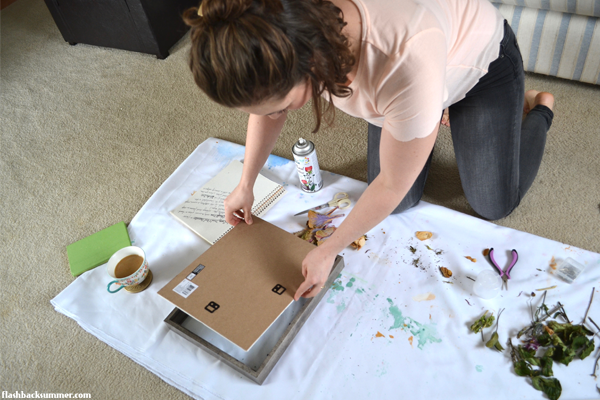 Finally, place the board inside the frame and secure it on the back. Your piece is done!
 Now find the perfect place to hang your beautiful work! Molly has made several of these boxes, and below are a couple more of her examples. The frame of the box and the colors of the flowers make such a difference, don't they?
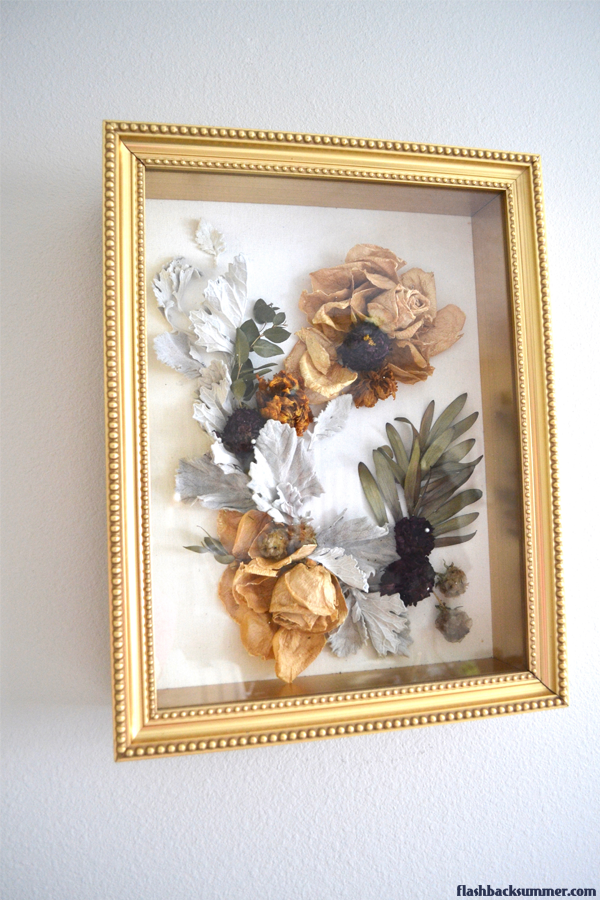
While many of us have the time and desire to make our own, Molly is also available to take commissions! If you have special flowers you would like to preserve, Molly would be very happy to work out shipping logistics and the process with you. If you're interested, you can email her directly!
I have personally commissioned Molly to make a couple boxes, and I will share them with you guys when they are done! I LOVE dried flowers, and there really can't be too many around one's house, in my opinion!
What do you think of these dried flower boxes? Do you have any special flowers you would like to immortalize in art?


I'm glad you think so!
ReplyDeleteI'm glad you think so!
ReplyDeleteTruly gorgeous! Thank you both very much, talented ladies. These are absolute works of art!
ReplyDelete♥ Jessica