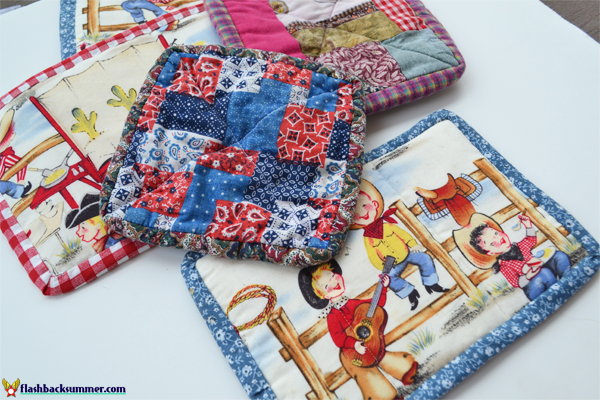
Since I've gotten married and set up house in the past year, my grandma has been kind enough to gift me lots of towels, linens, etc. One of my most-used items that she gave me is a set of potholders. If you do much cooking, you know how handy a good potholder is!
I love the potholders my grandma gave me because she made them and many of them also match my kitchen. I love a matchy-matchy kitchen. These potholders aren't difficult to make, and they're a fantastic intro project if you're interested in learning to sew or quilt. If you'd like to try out a new quilt square or new way to quilt, this would make a fantastic "trial run" while still making a useful item!
And I did it all on my water-stained old ironing board in these photos. So… congratulations. Hopefully an iron cover tutorial will be coming soon...

Materials: 6" fabric square (natural fibers, synthetic might melt), scraps (if you're piece a quilt block. If not, just another 6" square will do!), scissors, double fold bias tape, thread, and batting. I used two layers of batting because it was thin, but you can use anything thick that won't melt; an old towel cut up, washcloth, felt, etc. would work just as well, as long as it won't be damaged by heat.

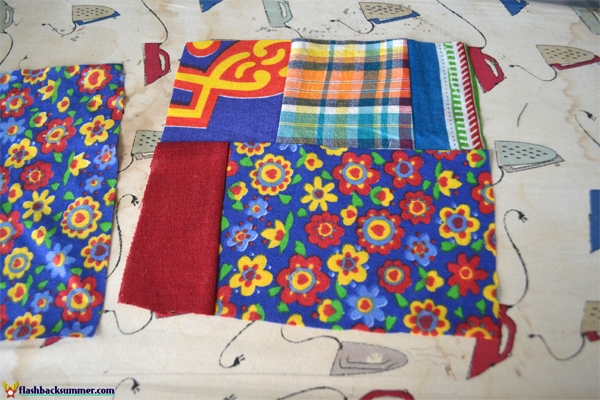
First, if you are piecing one side, now is the time to do it! I just used scraps and made a square. Of course, if you are just using two squares, you can skip this part.

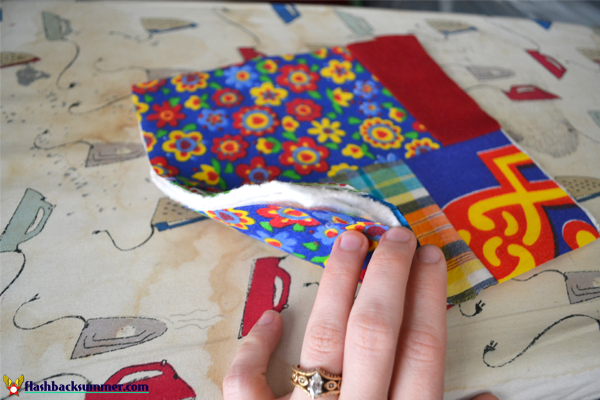
Next, make a tiny "sandwich" by layering a cloth square, batting, then the other cloth square.

With this tiny quilt sandwich secure, quilt through all three layers. I just went for a quick utilitarian option and sewed and X across the square, but you can get fancier if you want!

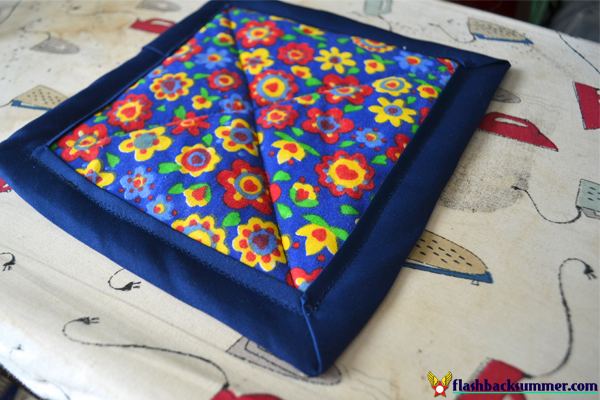
Next, get your bias tape ready. Starting halfway on a side (starting at a corner is much harder), pin the tape around the edge, being sure to secure it on both sides. I mitered the corners to make them look nice.

Next, sew it down! (Also, I just sewed through both sides all at once. If this is your first time binding something, I'd recommend following the tutorial in this video.) You have a completed potholder!

A set of these would make a fabulous gift, especially paired with an apron or cooking utensils and matching the giftee's kitchen! They're also a great stash buster and learning project!


So nice! I've been relying on towels as potholders for the first few months of marriage, so this is a very good idea, especially as I haven't done any patchwork in a while.
ReplyDeleteVery nice little project to while away a rainy afternoon. Fantastic for beginners and experts alike. Welldone! And that video is so easy to follow, what a useful resource.
ReplyDeleteI have two potholders that my mom made for me a couple of years ago and they're great. My favorite thing abut them is that she used scraps from some of my old dresses and things :)
ReplyDeleteThese are awesome and too pretty to use. :)
ReplyDeleteThese are so charming, homey, and beautiful! Thank you very much for sharing another stellar tutorial with us, sweet dear.
ReplyDelete♥ Jessica