I've got a fun DIY/refashion tutorial on how to turn an old, cheap straw hat...
 |
| (Which I foolishly forgot to take a proper "before" photo of, but it looked much like this one) |
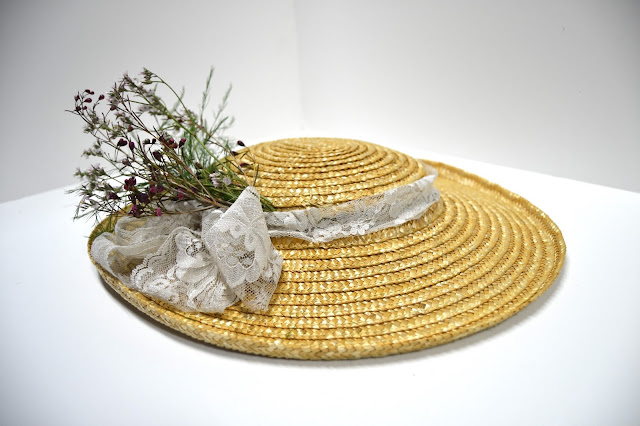
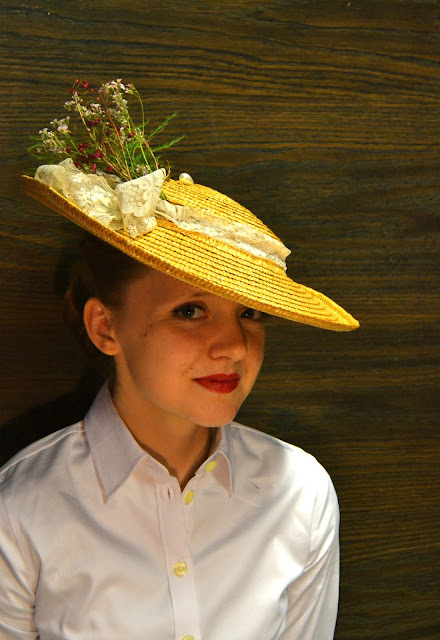
.... Into a sassy, vintage-appropriate saucer hat!
To make this revamped hat, you will need:
Extra tip for choosing a hat for this project:
I suggest a hat with a more "rectangular" rather than rounded crown, meaning a hat that is about the same width at the top as it is where it connects to the brim.
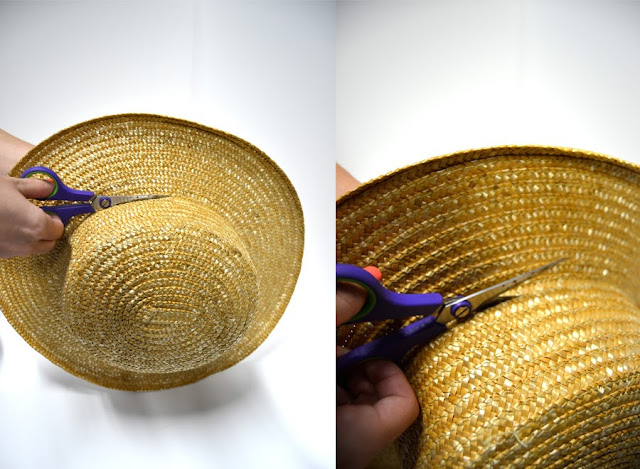
So to begin the tutorial! First, separate the crown from the brim by cutting at the corner where the two meet:
This leaves you with a straw "fez" and "donut":
Note: My hat had a hat band in it that I left intact.
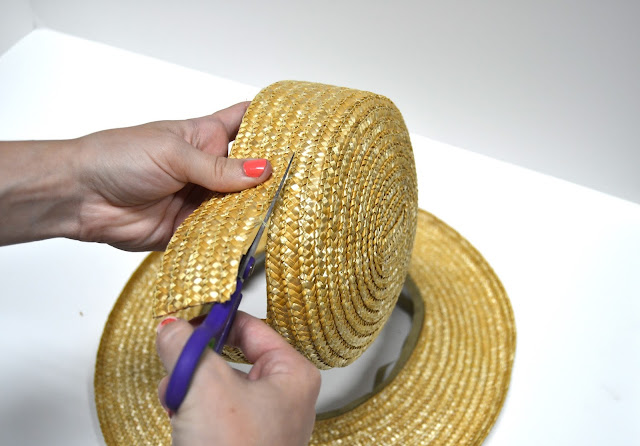
Next, cut the "fez" crown piece and make it as short as you like. Mine was about an inch from the top.
Extra tips: Don't follow one line of straw as you cut. Your hat is probably made from coiling straw braids, so you'll end up just swirling around and around your hat until you have a curly pile of straw ribbon!
Also, I just eyeballed mine, but feel free to measure from the crown to get an exact measurement all the way around.
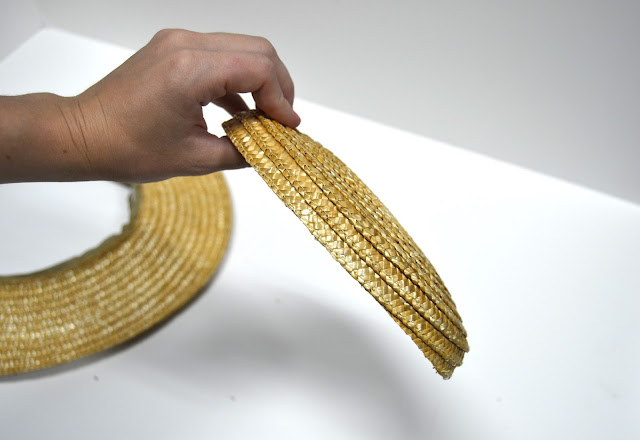
This leaves you with a "fluffy pancake":
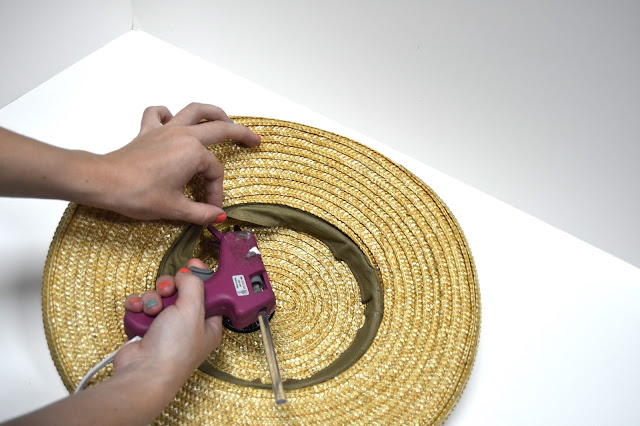
Next, you're simply going to glue the new "fluffy pancake" crown to the brim you already have.
My hat had a hat band, so I glued the new, short crown to the brim, then glued the hat band to the crown on the inside. If your hat doesn't have a hat band, I would suggest using a wide ribbon, bias tape, fabric, etc. on the inside in its place to strengthen it (and make it look neater inside). This will also keep real straw hats (I think mine is plastic) from raveling.
Now for the fun part! It's time to decorate your hat!
I used some lace trim and dried flowers, but you could use any supplies you fancy. Be creative! You could use fancy ribbon, fabric, silk flowers, felt shapes, fake berries, fresh flowers, anything you want, really!
Extra tip: Straw makes a really good neutral hat that you can re-trim to coordinate with different looks. Be like the women of old and sew (using big stitches) or pin your accents and decorations on so you can remove them easily later if you want to try something new!
And ta-da! You have a beautiful, one-of-a-kind hat to pin atop a fancy 'do!
So what do you think? Do you think you'd be willing to try this sometime?
If you have any questions or run into any snags, feel free to contact me and I'll do my best to find a solution with you!
I adapted this tutorial from this one for a bergere hat by the Dreamstress.







I don't have a glue gun sadly, but I might have to buy one and give this a try. Great tutorial :)
ReplyDeleteA glue gun will change your life; it's totally worth it!!!
DeleteThis is absolutely wonderful! I think I would love to try this out for myself! I have so many hat and some of them are just lacking that something special but this would make them perfect!
ReplyDeleteRebecca
www.winnipegstyle.ca
Oh good, I'm glad you like it! If you do end up trying it, I'd love to see how it turned out!
DeleteGorgeous! There are so many ways to re purpose straw (and felt) hats. I'm studying millinery at the moment and our last assignment was to use a thrift store hat to turn into a new one and everyone did such fabulous things. Your hat would have fitted right in with my classmates hats. Just gorgeous.
ReplyDeleteOooo, a millinery class would be so great! What a fun opportunity!
DeleteSoooo love! What an awesome revamping - I love the height of the crown that you went with. Gorgeous, wonderfully creative hat, honey!
ReplyDelete♥ Jessica
Thank you so much, Jessica!
DeleteBrilliant! So simple and easy but looks like a million bucks!
ReplyDeletexoxo
-Janey
Thanks Janey! I'm glad you like it!
DeleteWhat width hat did you buy? None of our craft stores have them so I need to buy online. I can't quite tell what size I need. I can't wait to make a few of these! Thank you!
ReplyDeleteWell, I'm honestly not sure of the exact dimensions, but I would suggest getting a hat with a brim that you like. If you want to do a sort of mini-topper, then a very small hat (even a craft hat) would do. If you want a bigger, more dramatic brim, then I'd go for a larger brim. Mine was a normal sunhat; it didn't have a hugely wide brim.
DeleteI hope this helps! Sorry I can't give you specifics!